Version control with terminal and Git
Introduction
Let’s get back into using the terminal (Command Line Interface) a little.
With just a few commands you can create a version-controlled history of your code!
Context
Why!?
Save

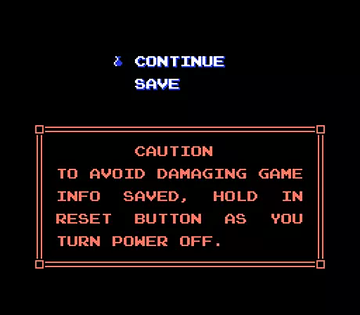
The Legend of Zelda 1986
You gotta save the changes to the file. You’ll do it (hopefully) – after every complete bit of code you write so you can see your changes in the browser, right? It should be second nature to save or save and refresh very often as you’re working.
But saving your file essentially overwrites your previous file. There’s only one file. Every time you “save,” you rewrite the text in that file to disk and blow away whatever was there before.
For example, early video games just had one slot to save your game. You either saved or you didn’t.
Committing to version control

The Legend of Zelda: Breath of the Wild 2017
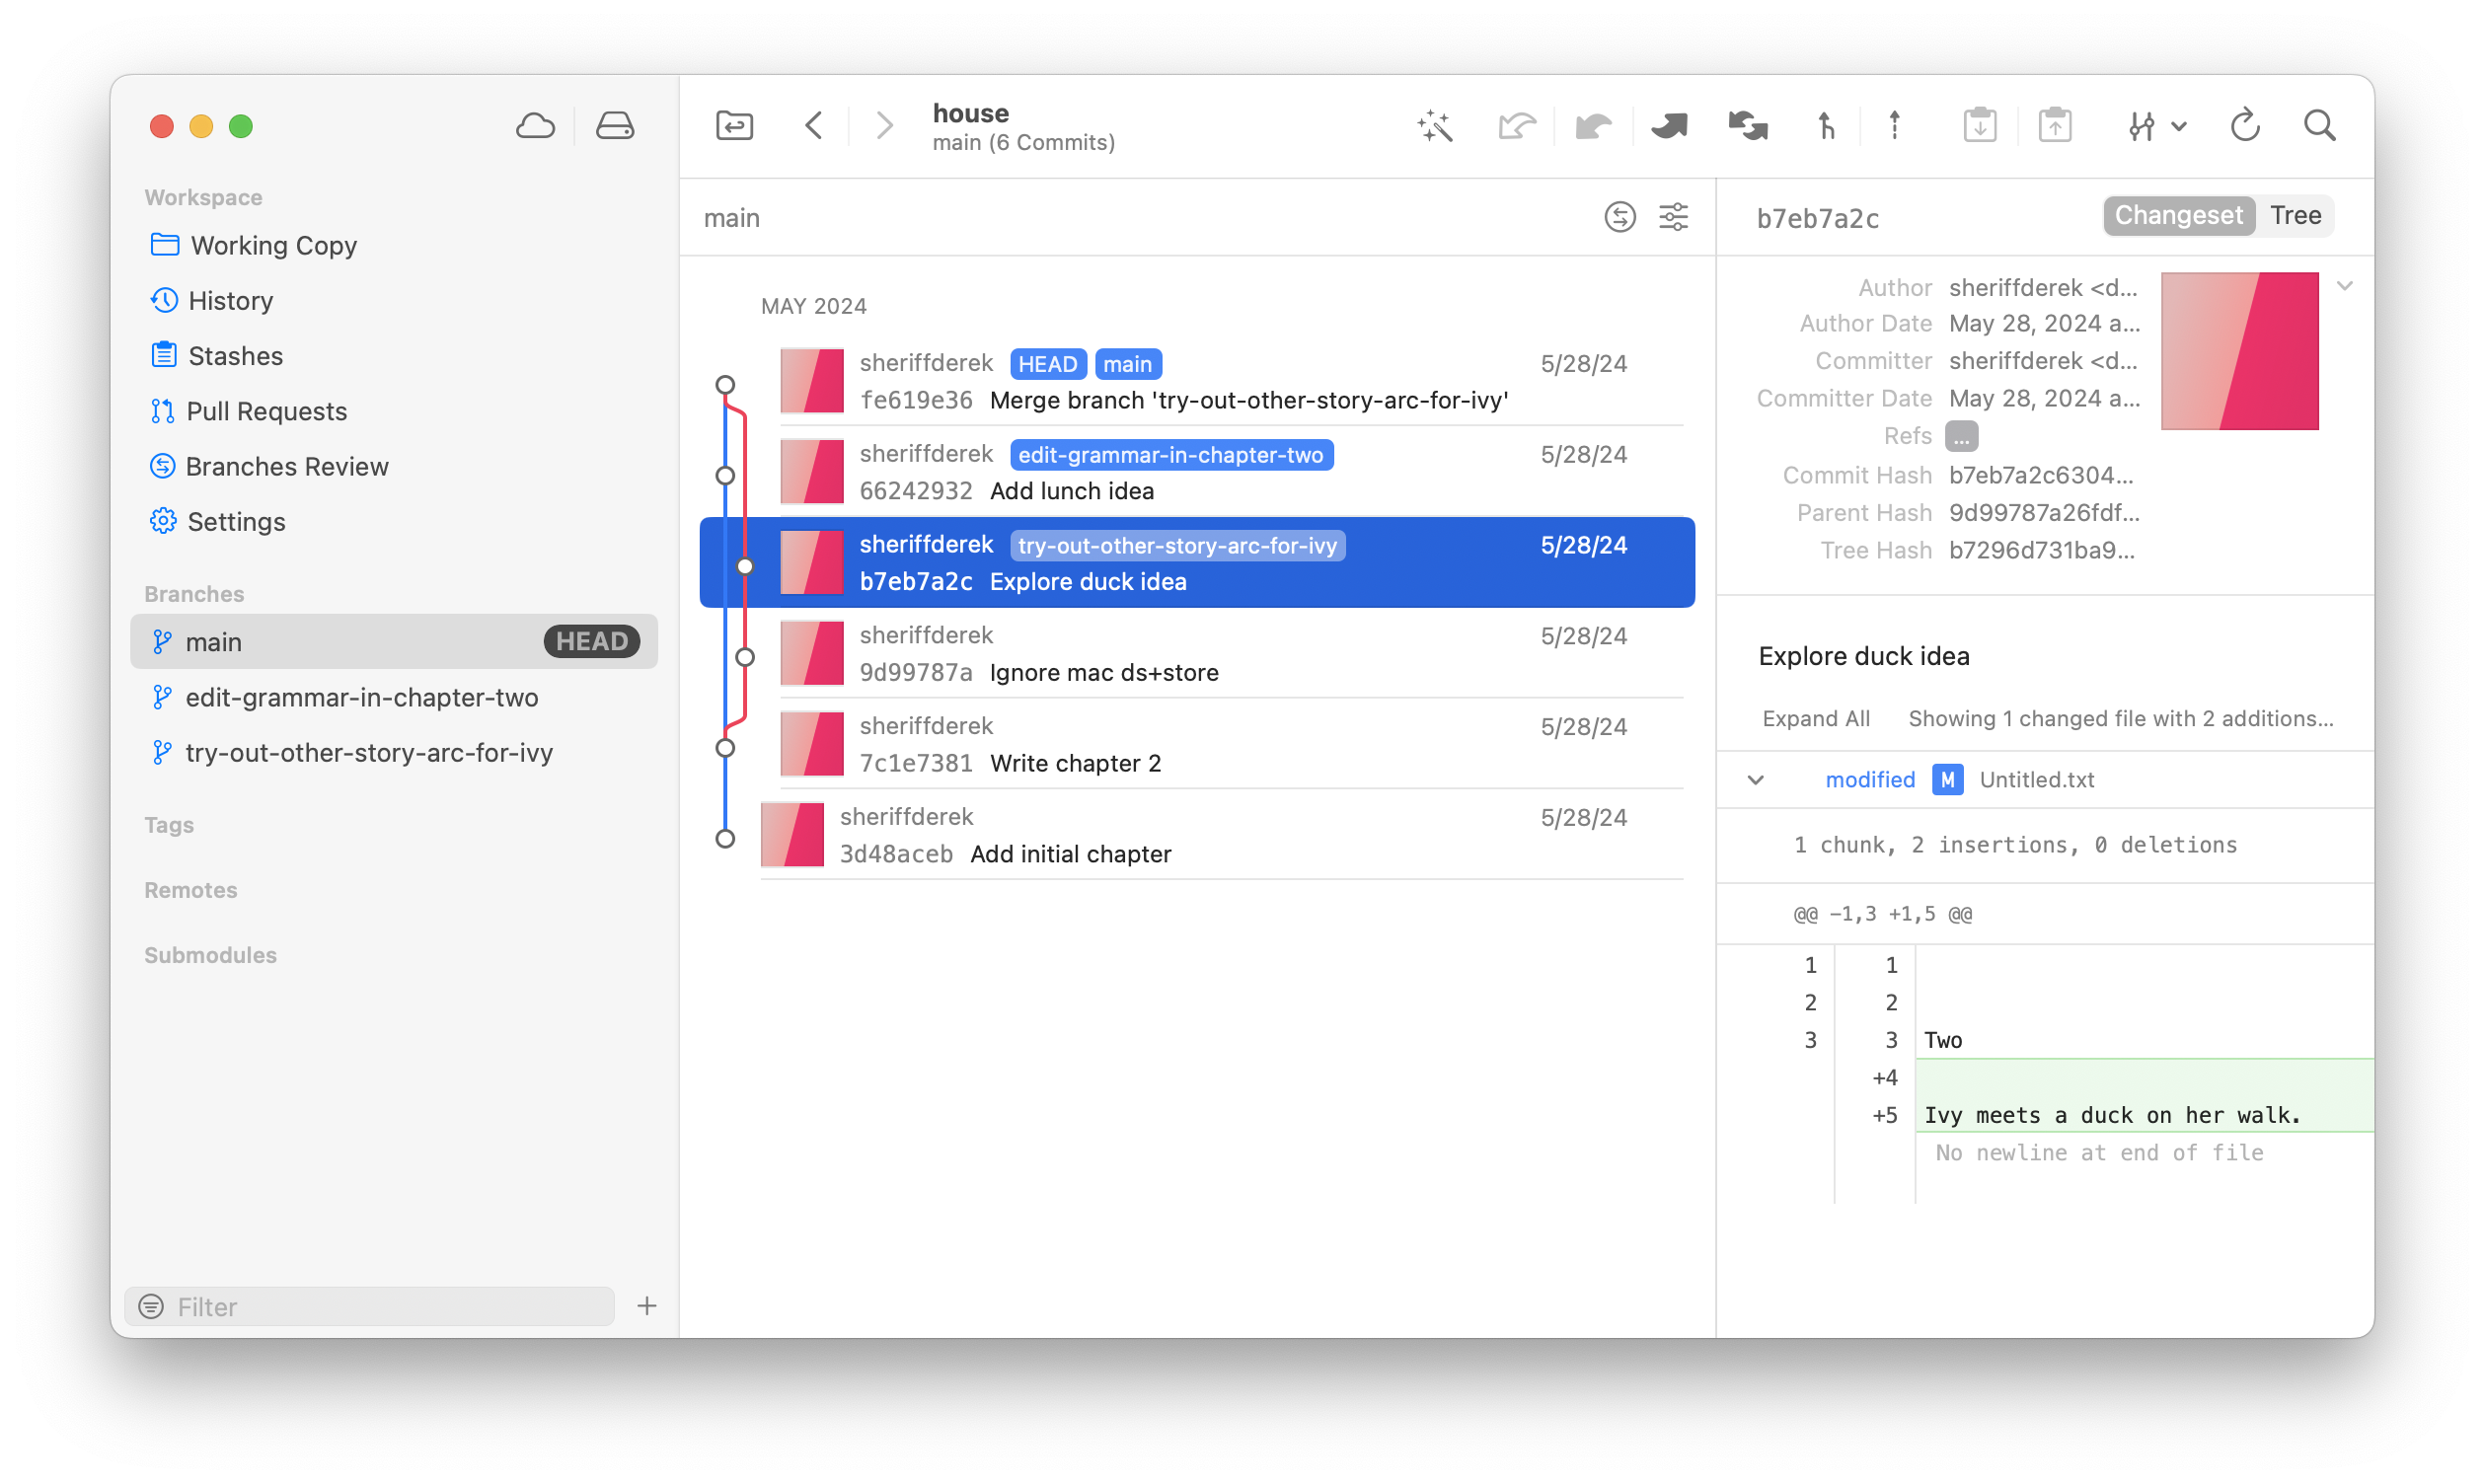
Committing to version control will take the current state of your repo (all the associated files / and not just the file you hit save on last) and save that version of your codebase into the commit history. You will commit this snapshot of your files to a long-lived history of your saved states. This way, you can return to any of them later and see which files were added, removed, and changed over time.
With the video game example, nowadays, most games save hundreds if not thousands of spots on your journey so that you can have a history and possibly return to one of those past saved states.
Committing your codebase changes to Git isn’t the same as saving the file as you work. You couldn’t be expected to commit to Git repository version history whenever you wanted to save your file and see the updates in the browser. Commit your code whenever you have a meaningful bit of cohesive progress. You’ll want it to make sense when looking back over the history. And these things will make more practical sense when we start using them on team projects.

Take notes
Write down any critical concepts and any of the commands – in order of importance. Try to create your own “How-to.”
(The commands are all listed out below)
Command line recap
There are some commands you’ll need. Remember these?
-
Terminal
Print Working Directory
pwdPrints the current working directory you’re in.
-
Terminal
lsThis will list out everything in your current directory.
-
Terminal Command
Change directory
cd directory/pathThis will change your current directory to the provided path.
-
Terminal
Make Directory
mkdir folder-nameMakes a directory (aka folder) inside of whatever directory you are currently in.
Git commands
Here we go.
These are the commands you’ll need for today. Did we miss any?
-
Terminal
git version
git --versionChecks which version of Git you have. Also useful to check and see if you have Git installed at all.
(If you don’t have it installed already, it should prompt you to install it)
-
Terminal
git init
git initInitialize your current directory as a git repository.
-
Terminal
Change name of branch
git branch -m nameofbranchChanges the name of your current branch. “main” is the current convention being used in 2022, so if your branch is initialized with a name other than “main” you can change it by using the command:
git branch -m main. -
Terminal
Check status of git repo
git statusChecks the current status of your git repository. Any changes to the folder will be shown.
-
Terminal
Add changes to staging area
git add file-path/filename.extensionThis will add any of the changes on the file to the staging area.
-
Terminal
Commit files
git commit --message "commit message here"This will commit any of the changes of your files with the associated message. You can also use the short-hand
-minstead of--message. -
Terminal
Check git commit history
git logDisplay all past commits.
Some global settings
You’ll probably want to do these things at some point, but don’t get too tripped up by them today. If you get tripped up, give us a call and let’s go over it.
-
Terminal
Configure git user
git config --global user.name "username here"
git config --global user.email email@addresshere.com
These two commands will configure your username and email address for all of your commits.
-
Terminal
Change default initial branch name globally
git config --global init.defaultBranch nameofbranchWhatever branch name you chose when entering this command will be the name of the initial branch whenever you initialize a git repository.