Visual design foundations (Fast)
Introduction
It’s not fast. But it is going to be faster than avoiding it – and basically putting yourself in a situations where you’ve already hardened your connection to it / and are then stuck as a surface-level designer forever.
So, to get a lot more connected and confident fast — take this slow. This isn’t about “learning what to do” – it’s about “learning what can be done” and how to feel that and trust the process.
Tools
You can do this with pencil and paper (but we suggest pen because then you’ll be more intentional and you’ll have to live with your “mistakes.”) Maybe a dotted paper type thing could help. (maybe we’ll put something here to print out). (getting a formal Printables resource in order now)
But given that you’re likely using a computer for these things, you can start with Affinity.
Which is better? Paper and pen first for a long time? Rulers? A drawing compass? Scissors? We have to guess that being physical and manual is a very good thing. But if you already have that in your life – then you can go straight into the computer (or a combination of both).
Affinity is now “free” and so, that’s the best tool for this. You’ll use the Vector Studio view. (Figma is great – but that’s more specialized and we want you to be as free and fast as possible for this) (and you can use whatever program you want – just know that we’re using Affinity in any videos and its terminology)
Note:
We should actually make them start out with blank paper for at least one round and draw the boxes – then with the dots for some rounds — because that plays into to showing how the computer program can guess alignment and space and things – and tells a better story.
Minimal setup
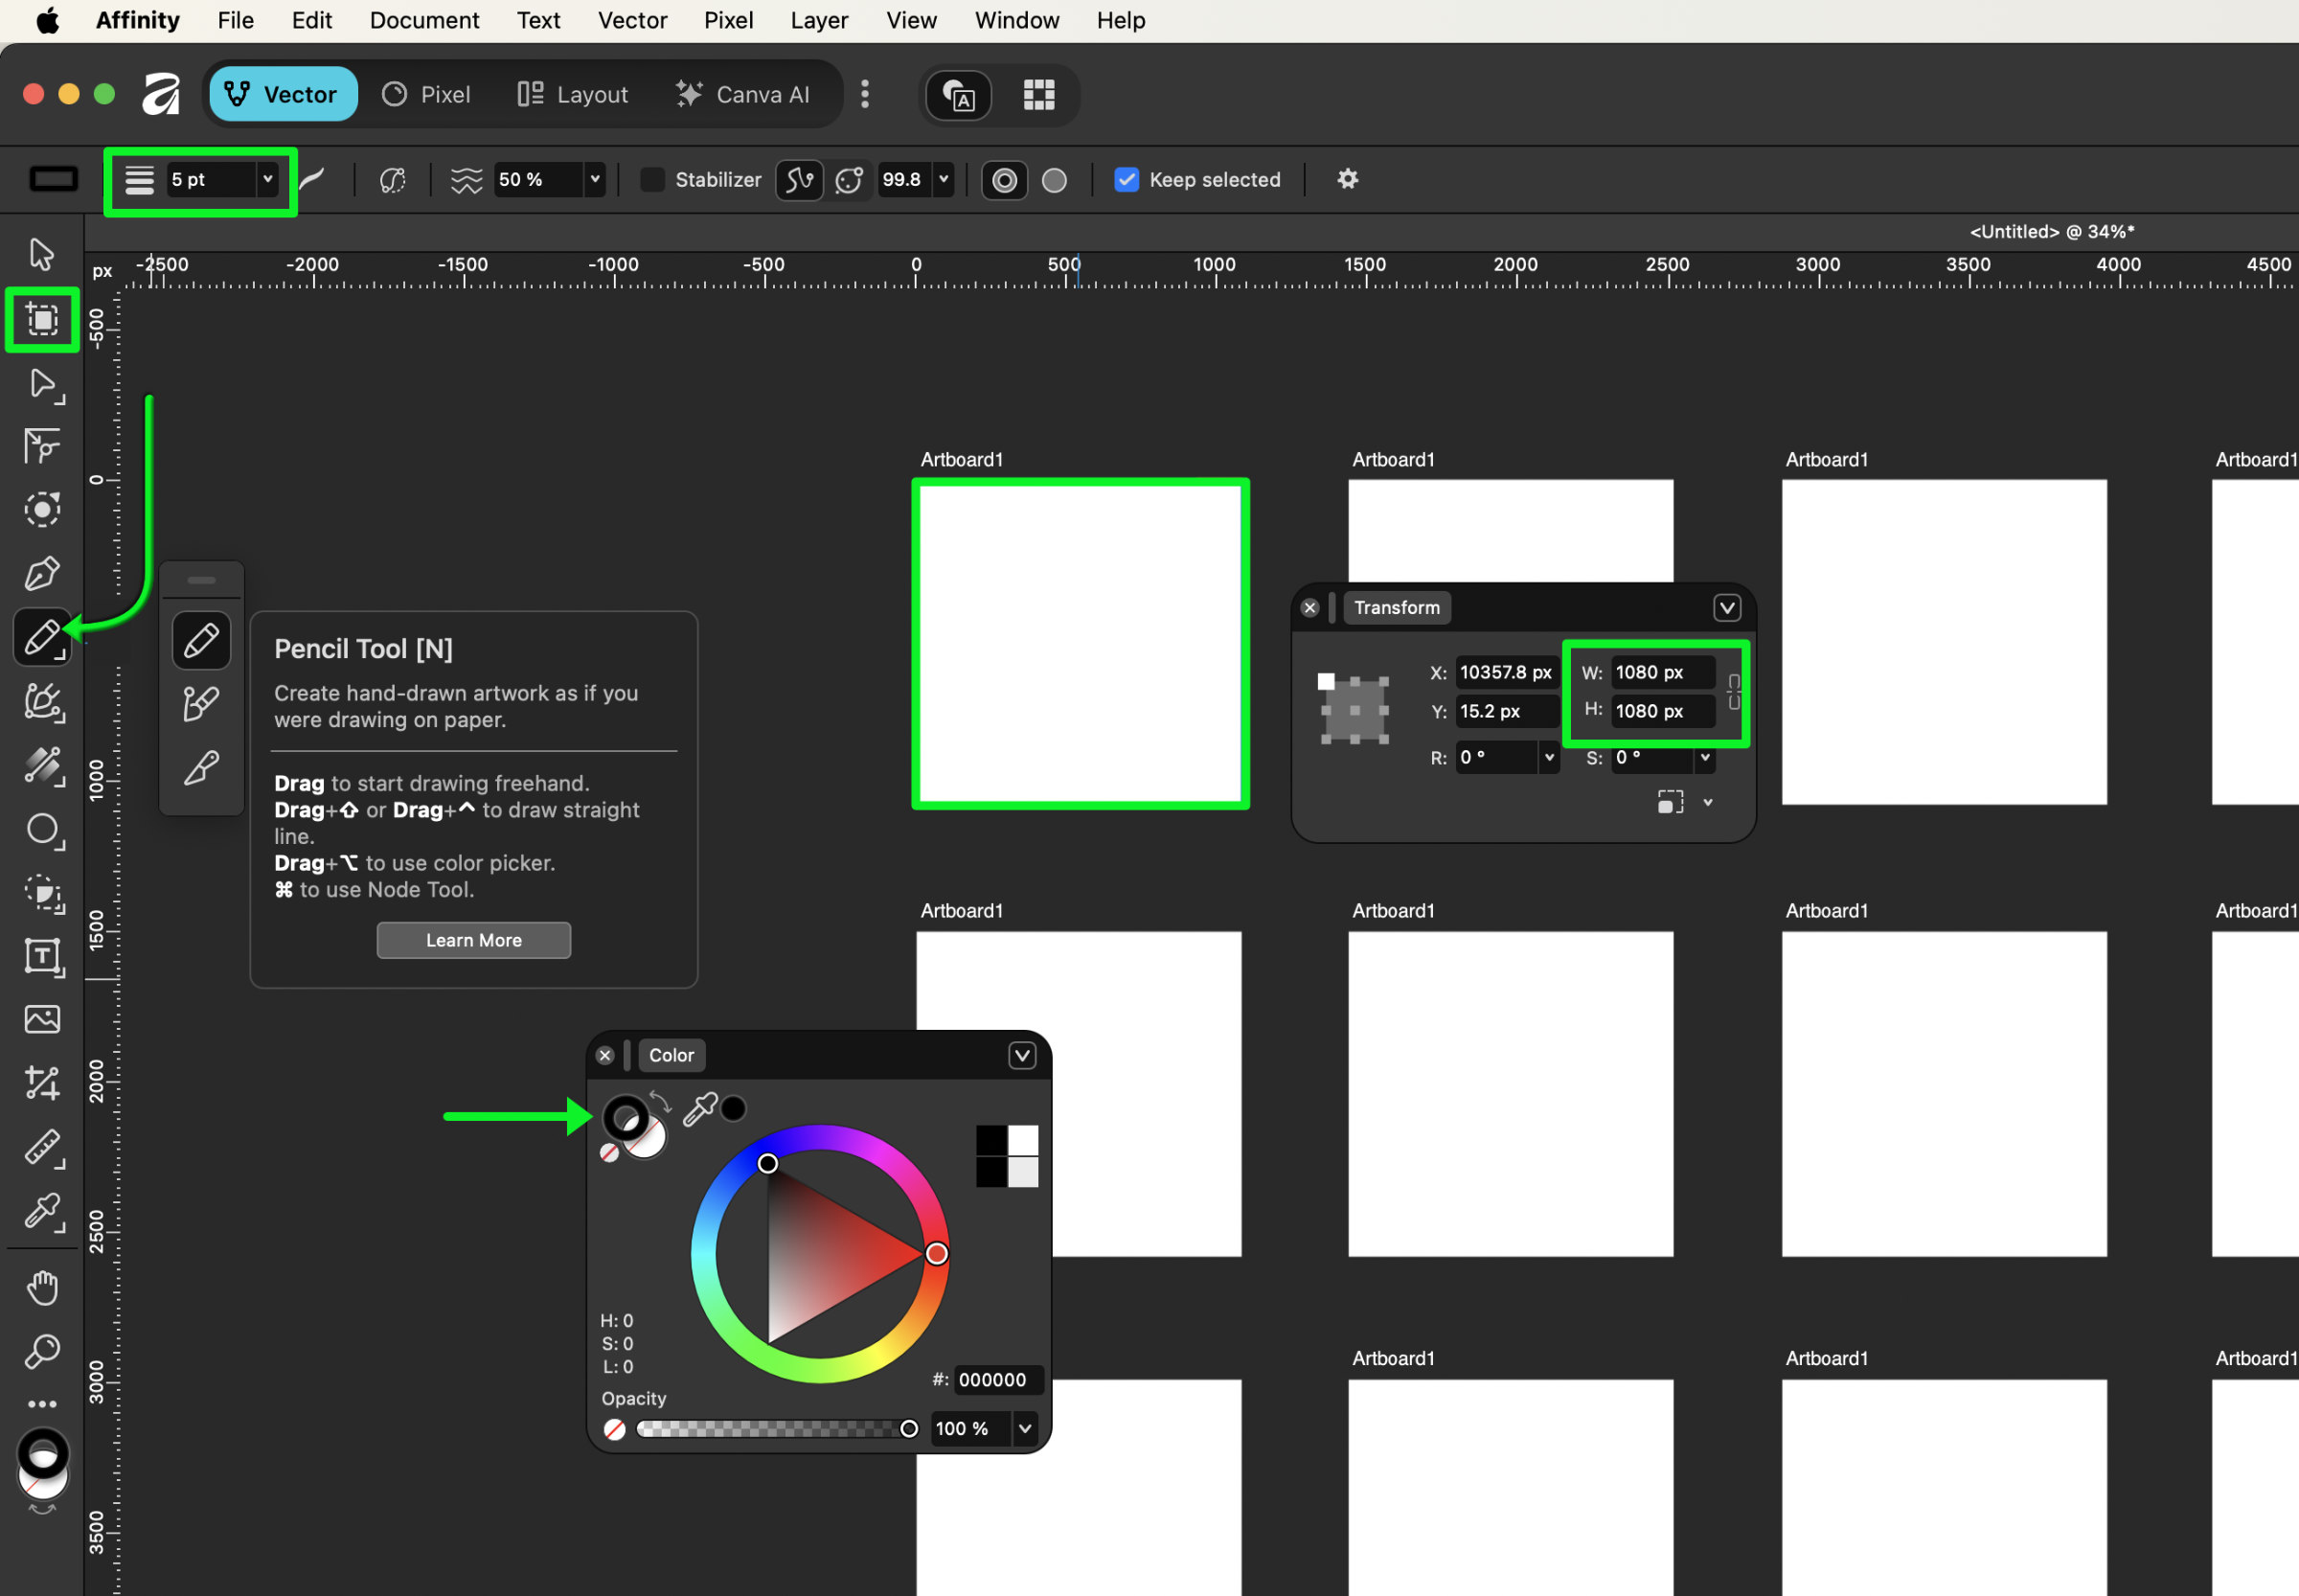
The goal here – is to learn as little about any given graphics tool as possible. Those things will happen naturally as needed. Right now, you just need to know:
- how to make sure you’re in the vector studio view
- how to create an Artboard (and set its size + the transform panel)
- how to quickly duplicate that canvas (and anything else)
- how to choose the pencil tool
- the difference between color fill and stroke
- how to set the thickness of the line
Duplicate an object by dragging
Universal
In most design and layout apps, you can select the object, hold option, and start dragging – when you let go, a duplicate drops right where you released it and the original stays put. It’s the fastest way to lay out repeated elements (a row of cards, a grid of dots, whatever). It won’t work absolutely everywhere – but it’s worth trying first.
It’s one of the most useful shortcuts there is. (and in many cases, you can combine it with shift to keep alignment)
Getting your artboards set up
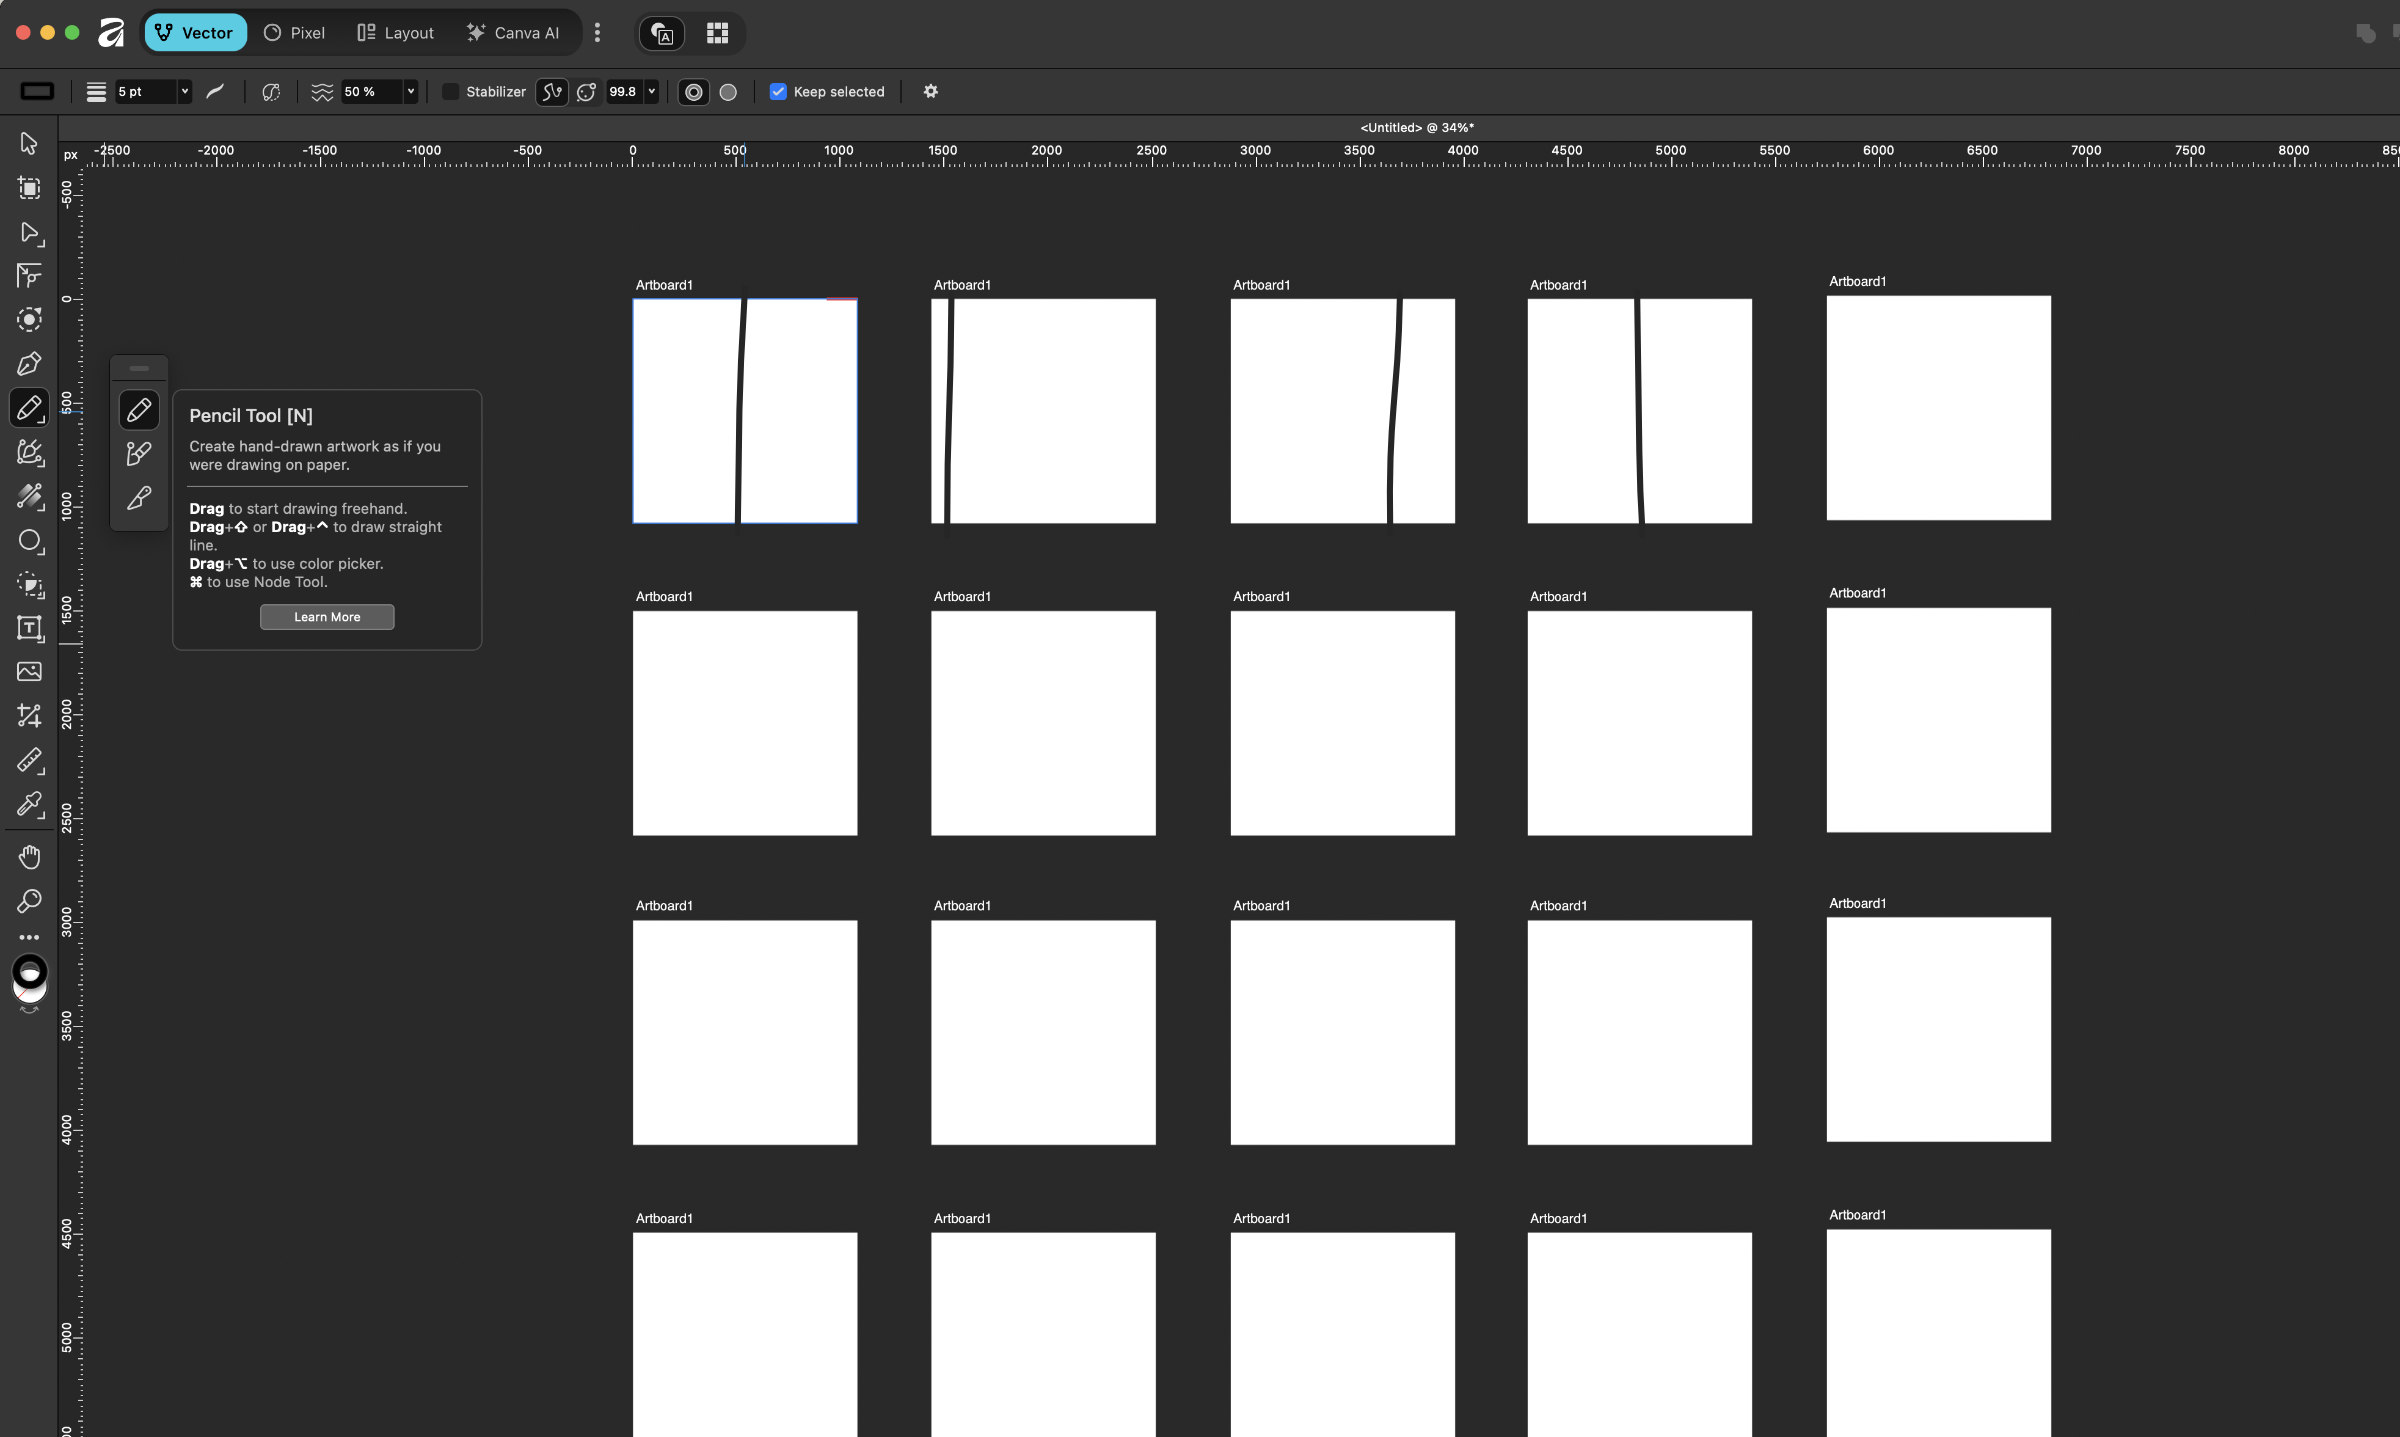
We suggest a 5×5 grid of canvases – but any amound will do. The key here is quantity – so you don’t get stuck overly worrying about anything. All too often people take one canvas and just keep nudging and nudging and nudging – and they can’t see any history or compare iterations / and they just don’t really learn anything. So, when in doubt – make a copy!
You’re winning if you have 100x more exploration than you thought you needed. This is as much about teaching you to be comfortable in divergent thinking – as it is about the graphics program or the fundamental design concepts (although we might say divergent thinking and the explicit decision to take part – is the very MOST fundamental design concept).
Simple lines
We’ll fill in some examples of these later (if they don’t ruin it) – but for now here’s an outline you can work though. The longer you spend enjoying these exercises the better life will be. We know… drawing some lines is just really really hard – and you’d rather be watching 7,000 subway takes in a row on YouTube shorts… but… – you have to choose.
Make a grid of 5×5 or 6×6 or 10×10 artboards/canvases and do each of these exercises across the whole grid. Then talk through them with a human.
Relationships (multiple lines)
What are all the combinations and interesting placements you can explore and find? How does it feel when you put them close together? Or far apart? Or both to one side?
One shape
You can put the shape anywhere in the context of the box. The negative space plays just as much of a role as the shape itself. Focus on choosing a placement and a size to see how differently you can make things feel. Think about the concept of “contrast.” Consider what happened in your line exercises.
But where! How could I possibly know? One way – is to put it in the middle. Then, keep putting it in different places until you run out. Another way, is to look at the intersections on your crossed lines exercises. They have the X/Y coordinates. Let loose!
Relationships (two elements)
What are all the combinations and interesting placements you can explore and find? The happy accidents are where the learning happens — not in following directions 😉
Composition (three+ elements)
Most visual design is 2 or three items working together to tell a story – or help create a set of choices.
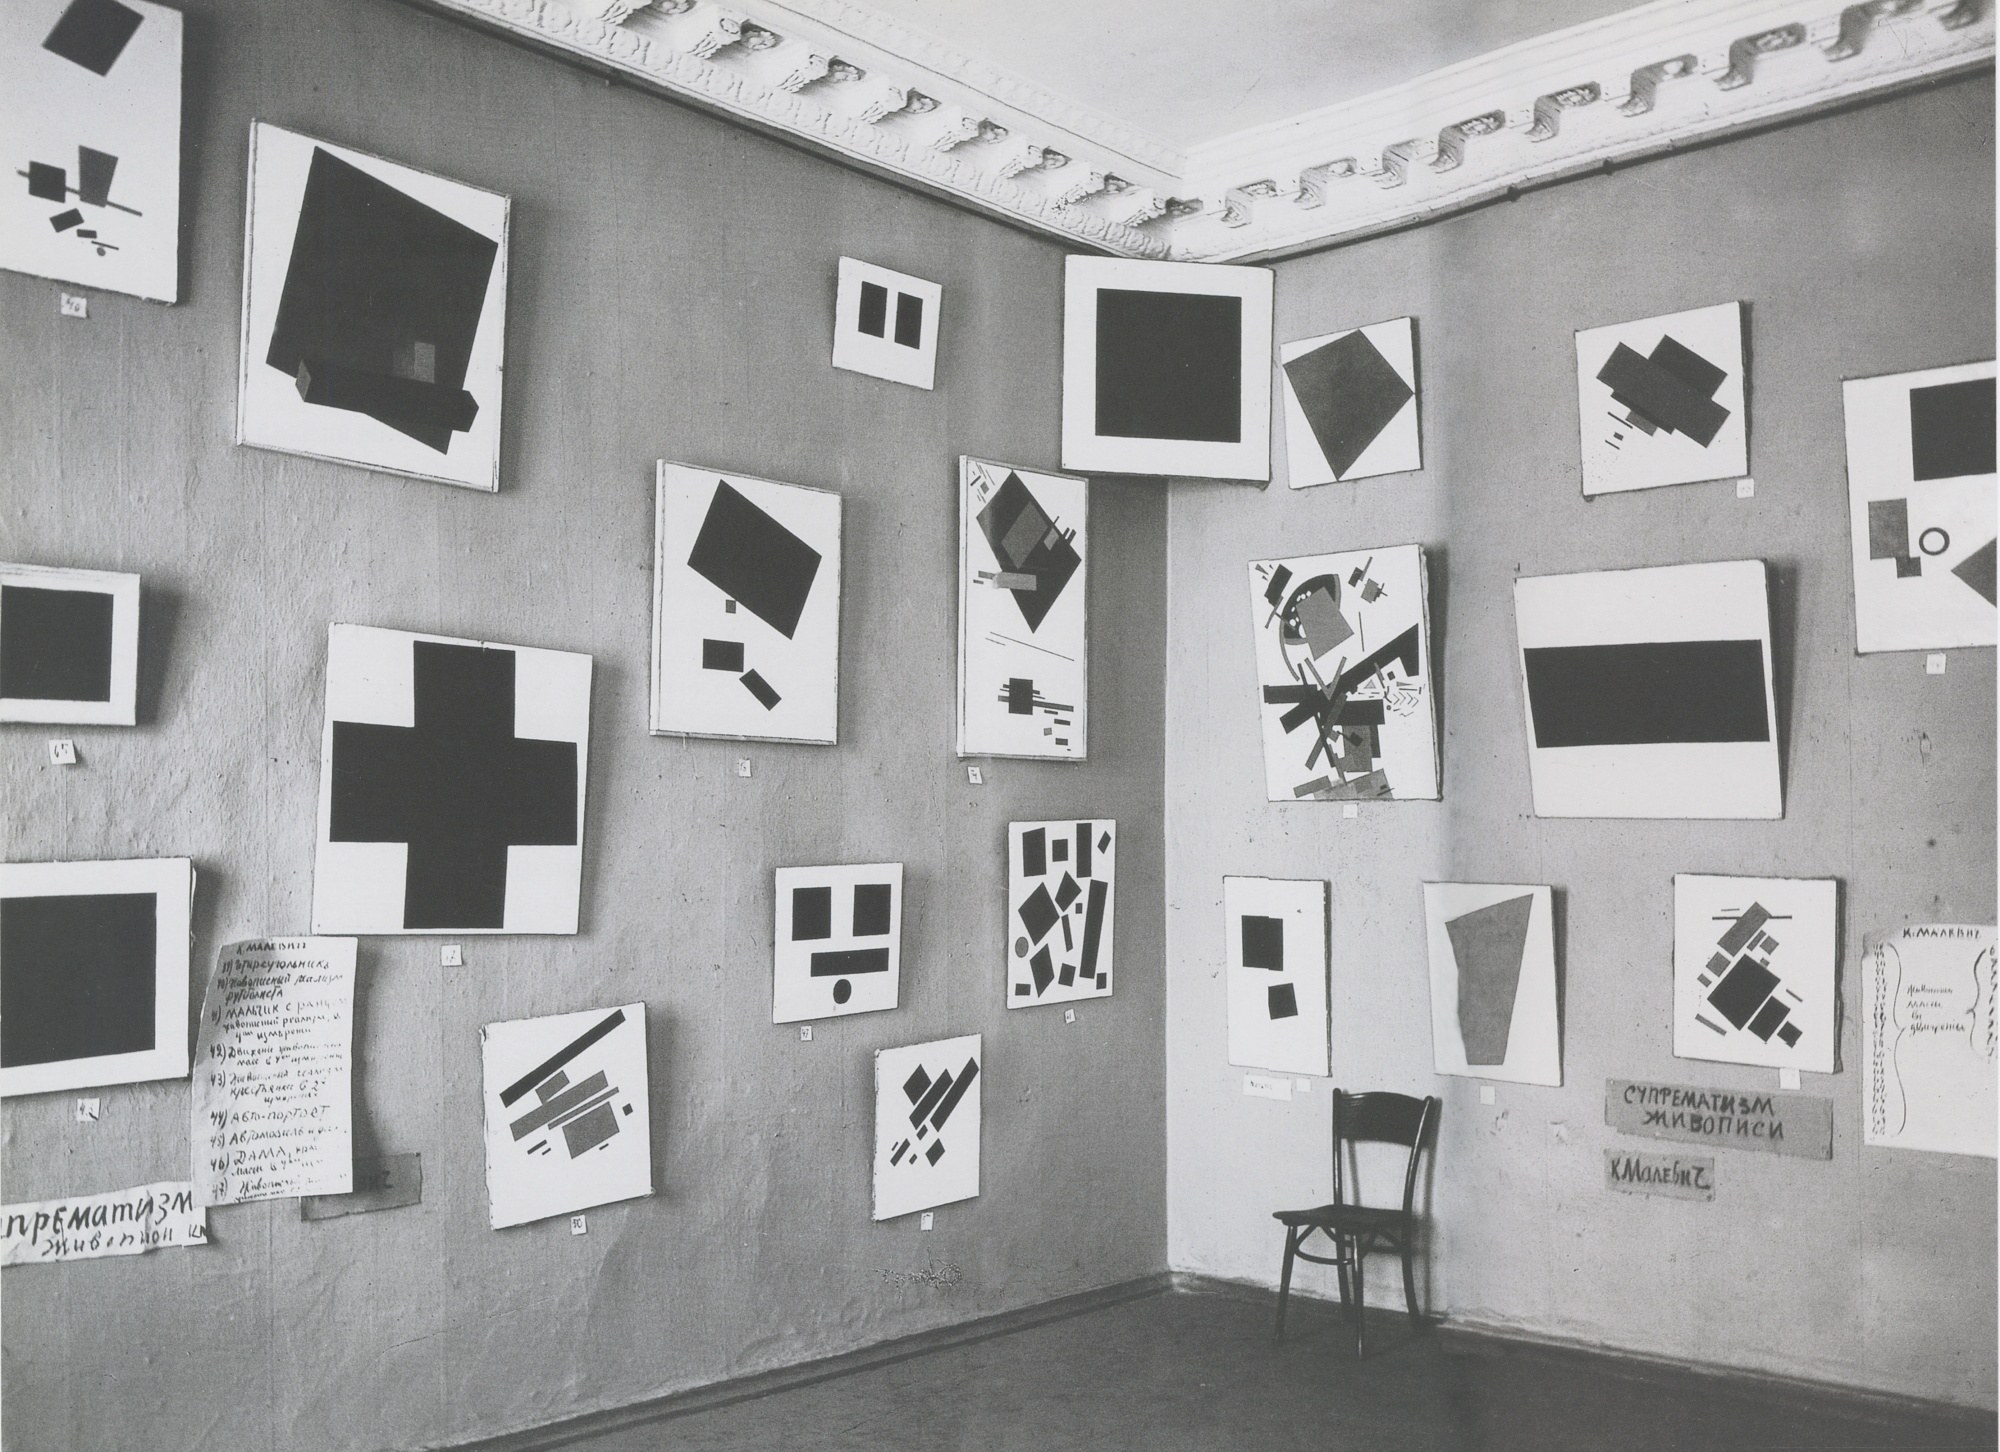
By Фотография Ателье БуллыUnknown[1] - Original publication: 1915
Assuming you did ALLL those studies we outlined (maybe even twice), well – you’re practically a fine artist now — just 100+ years too late.
Prepping for the next challenge
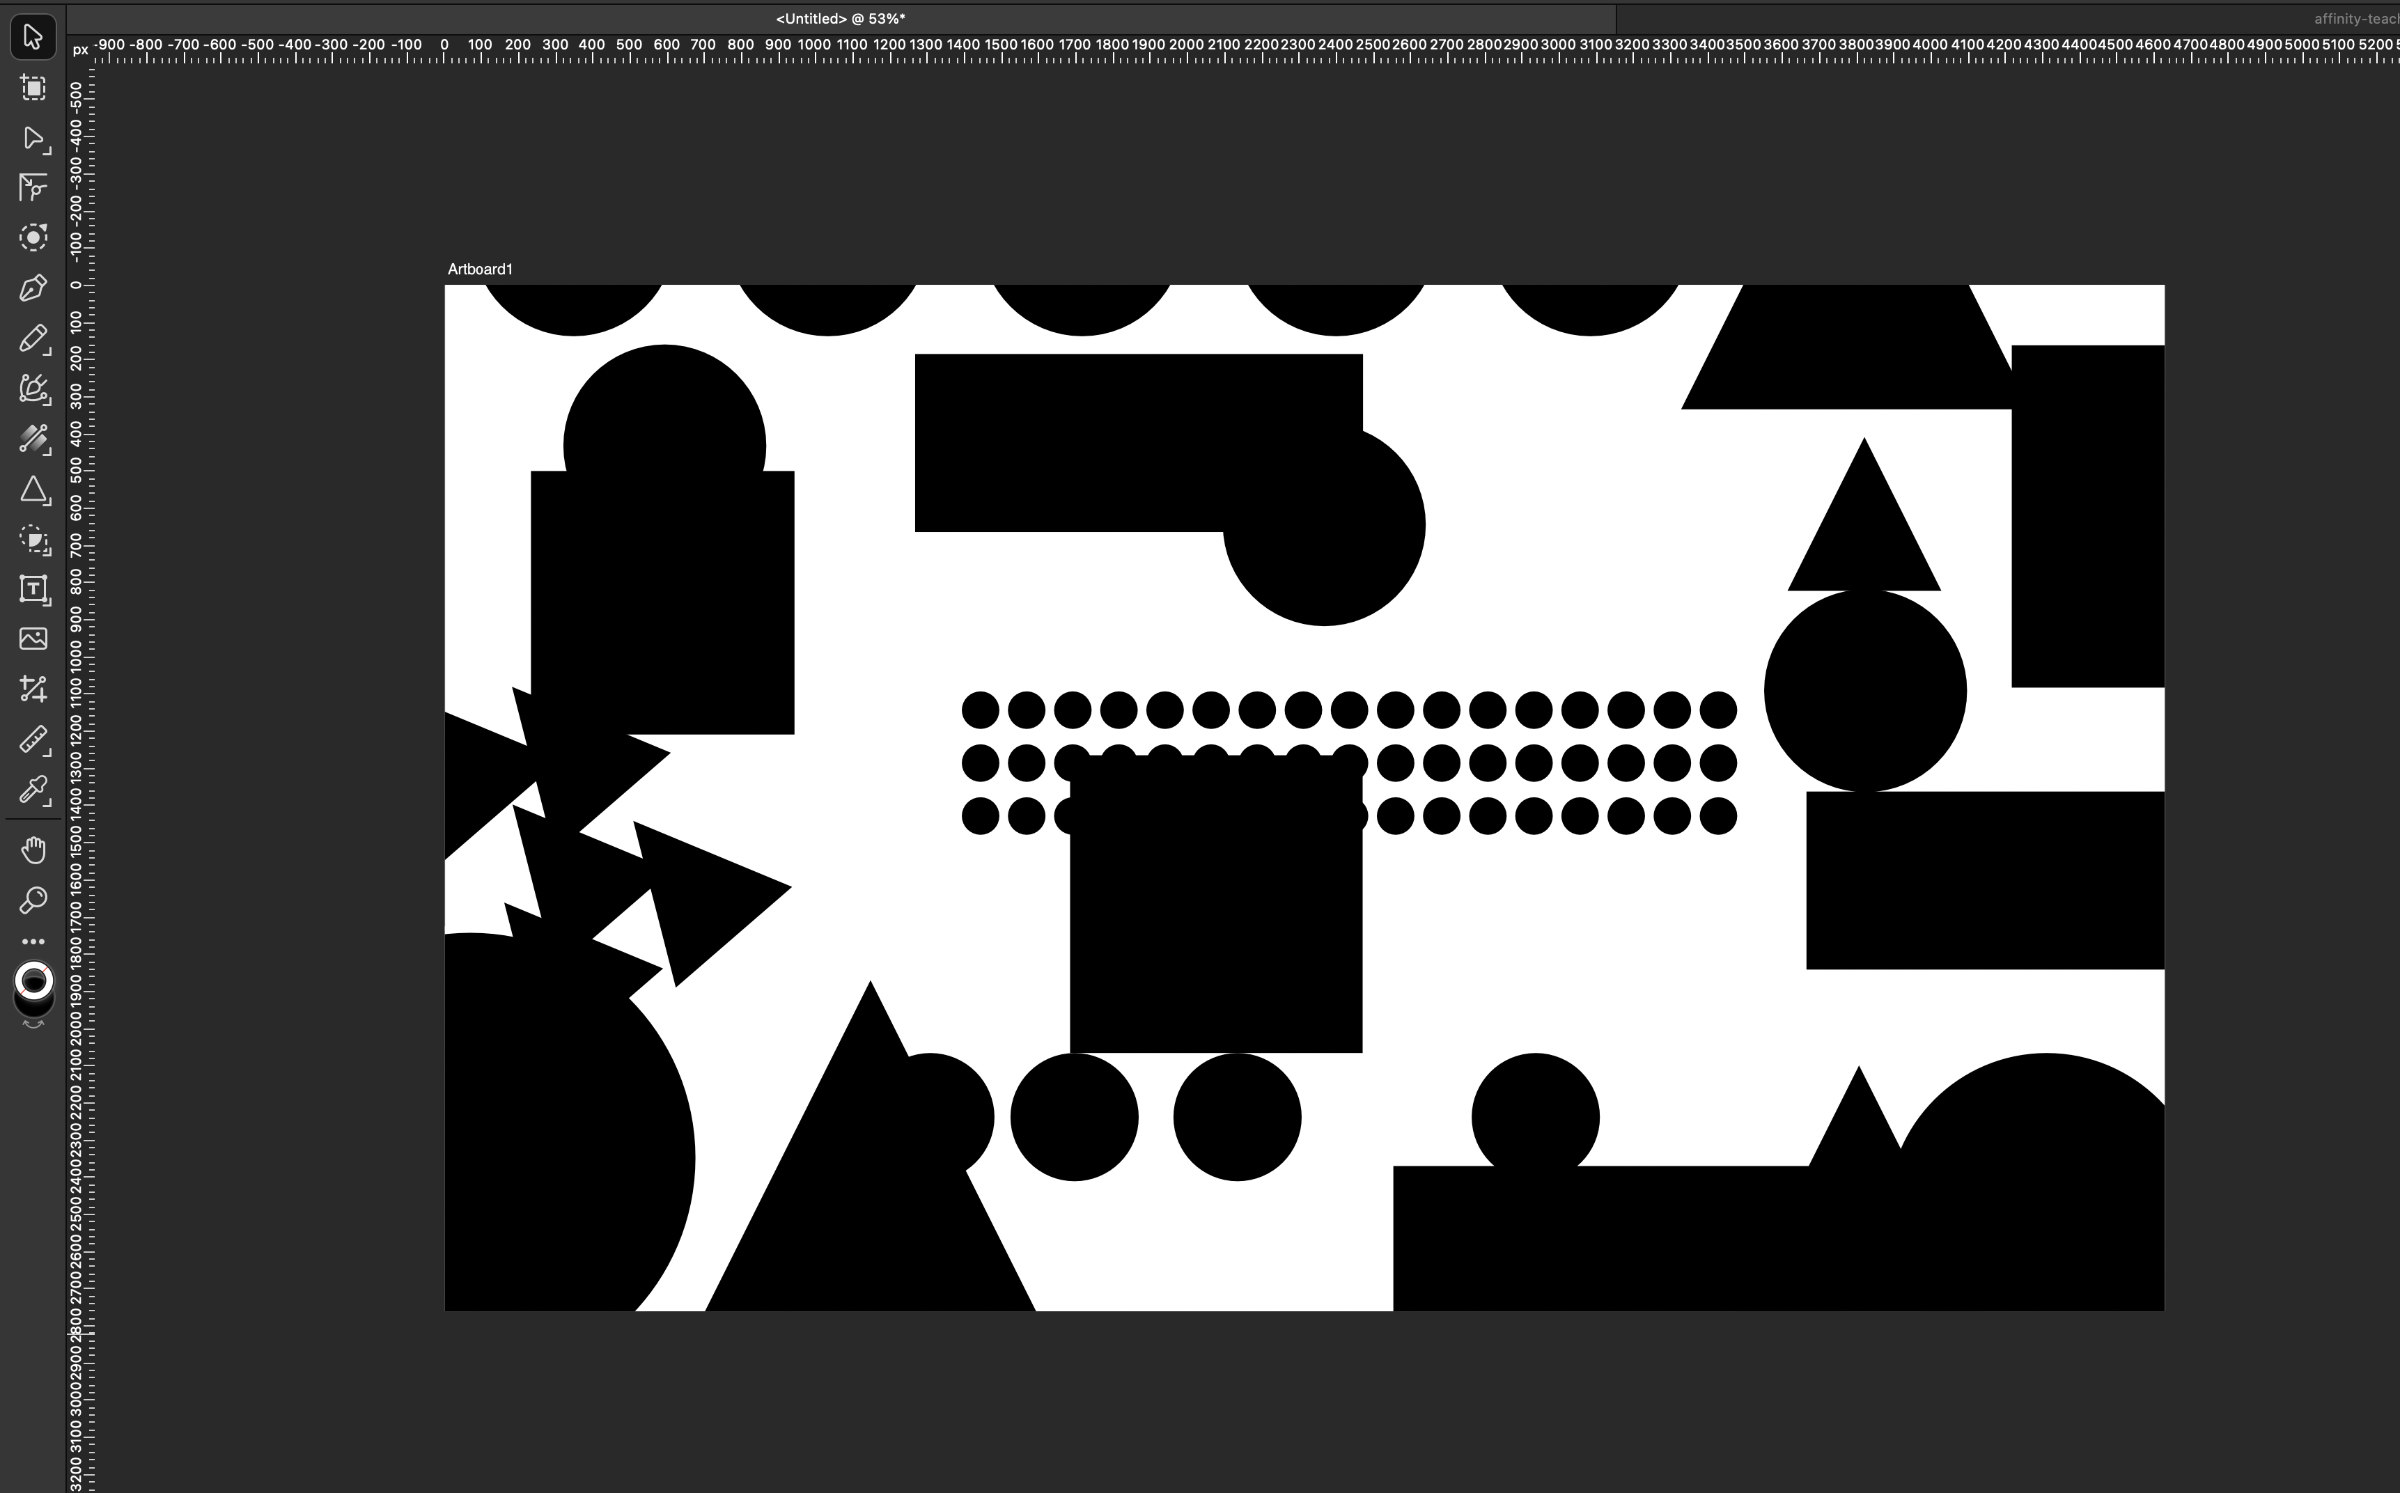
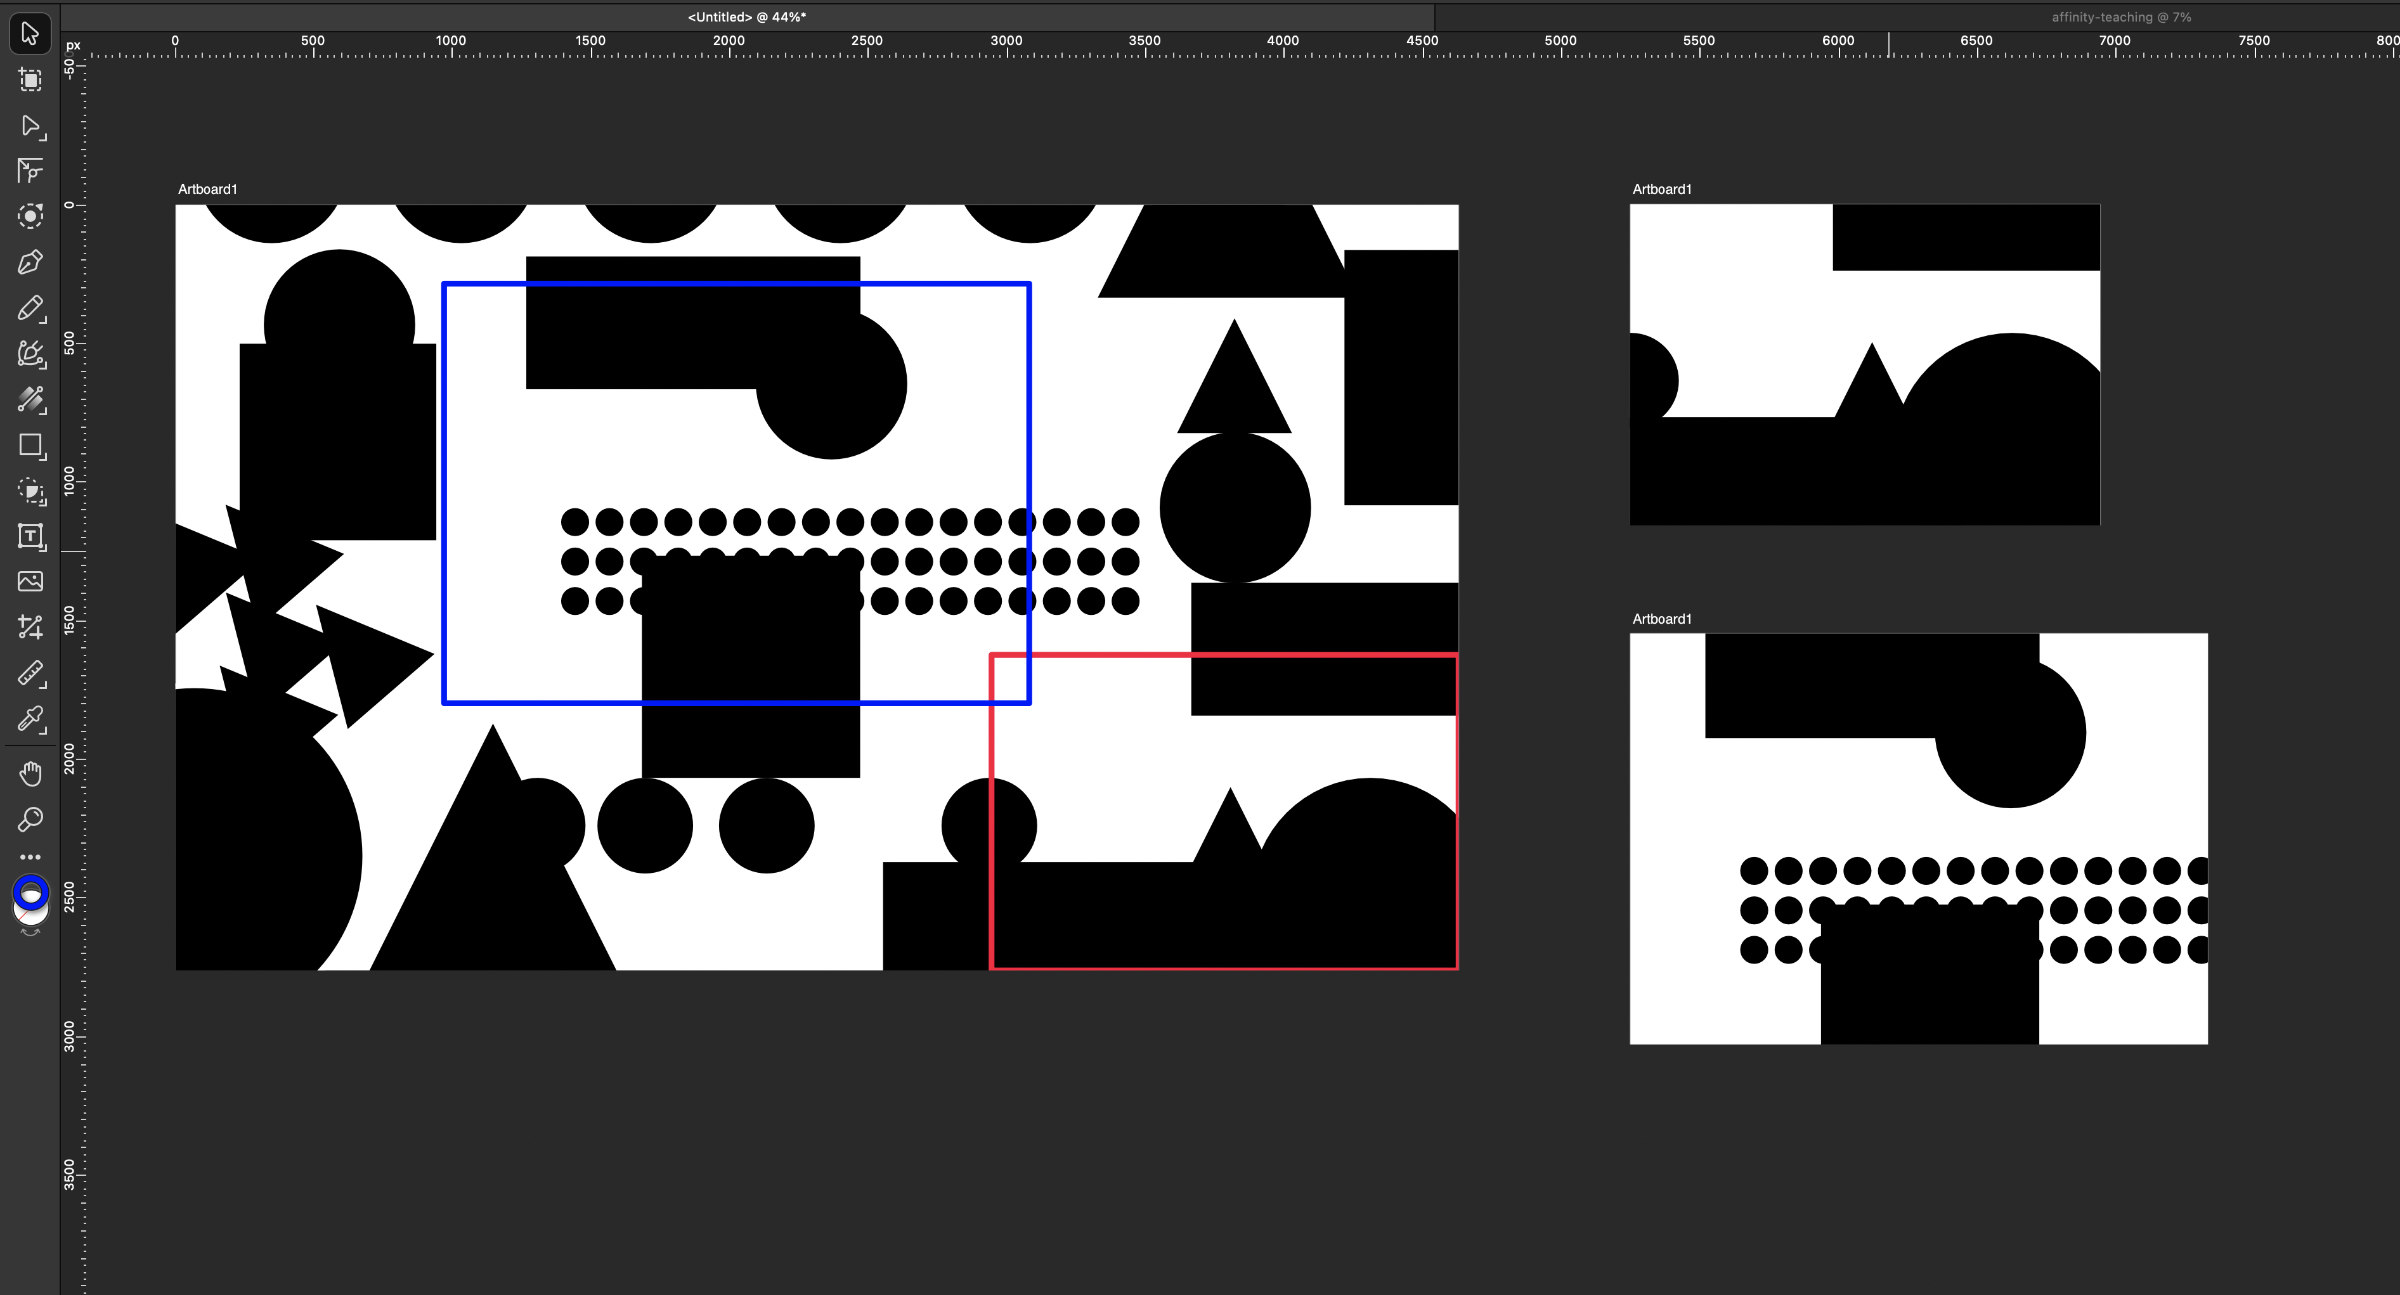
So far, you’ve just been adding things. And some of them were likely falling off the edge and being cropped in that way. But for this one, make a big canvas – and throw on tons of shapes all over. Go crazy.
Cropping
Then copy that whole artboard 20 times. Now you’re going to change the size of the artboard.
Other cropping ideas
Here are a few other things to think about in the days to come.
Crop things out of real life
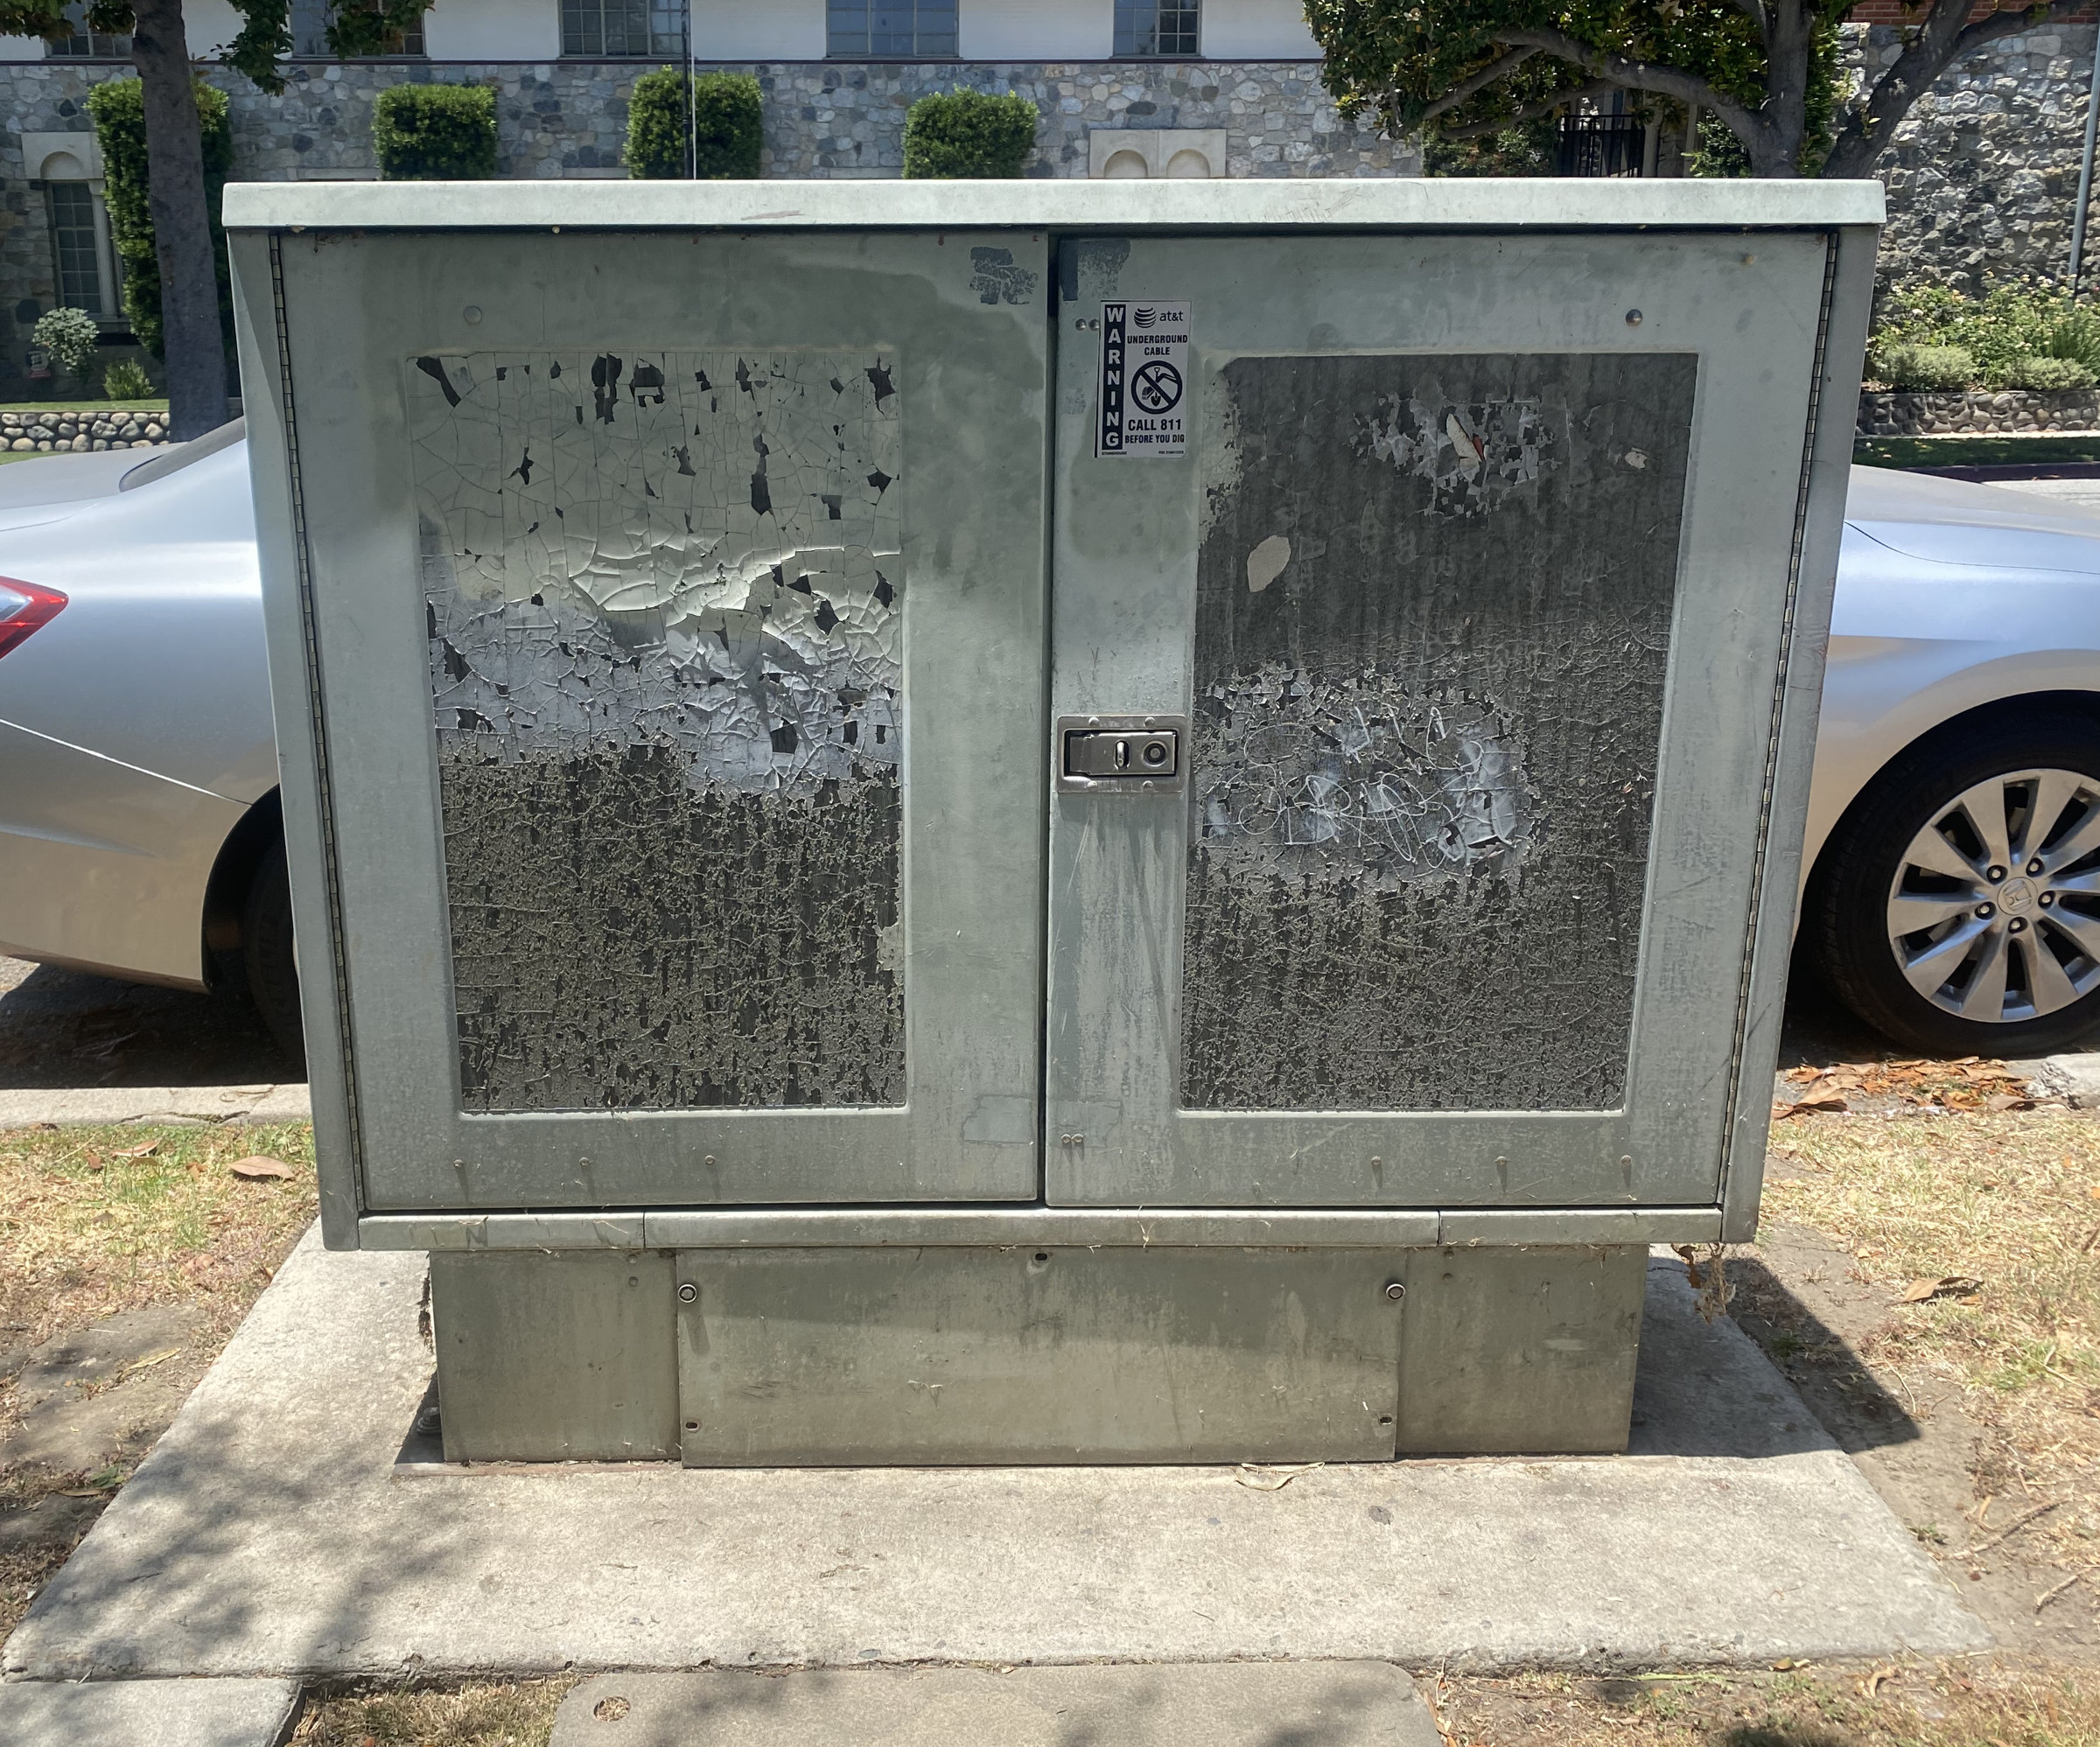
South Pasadena, June 17th 2026
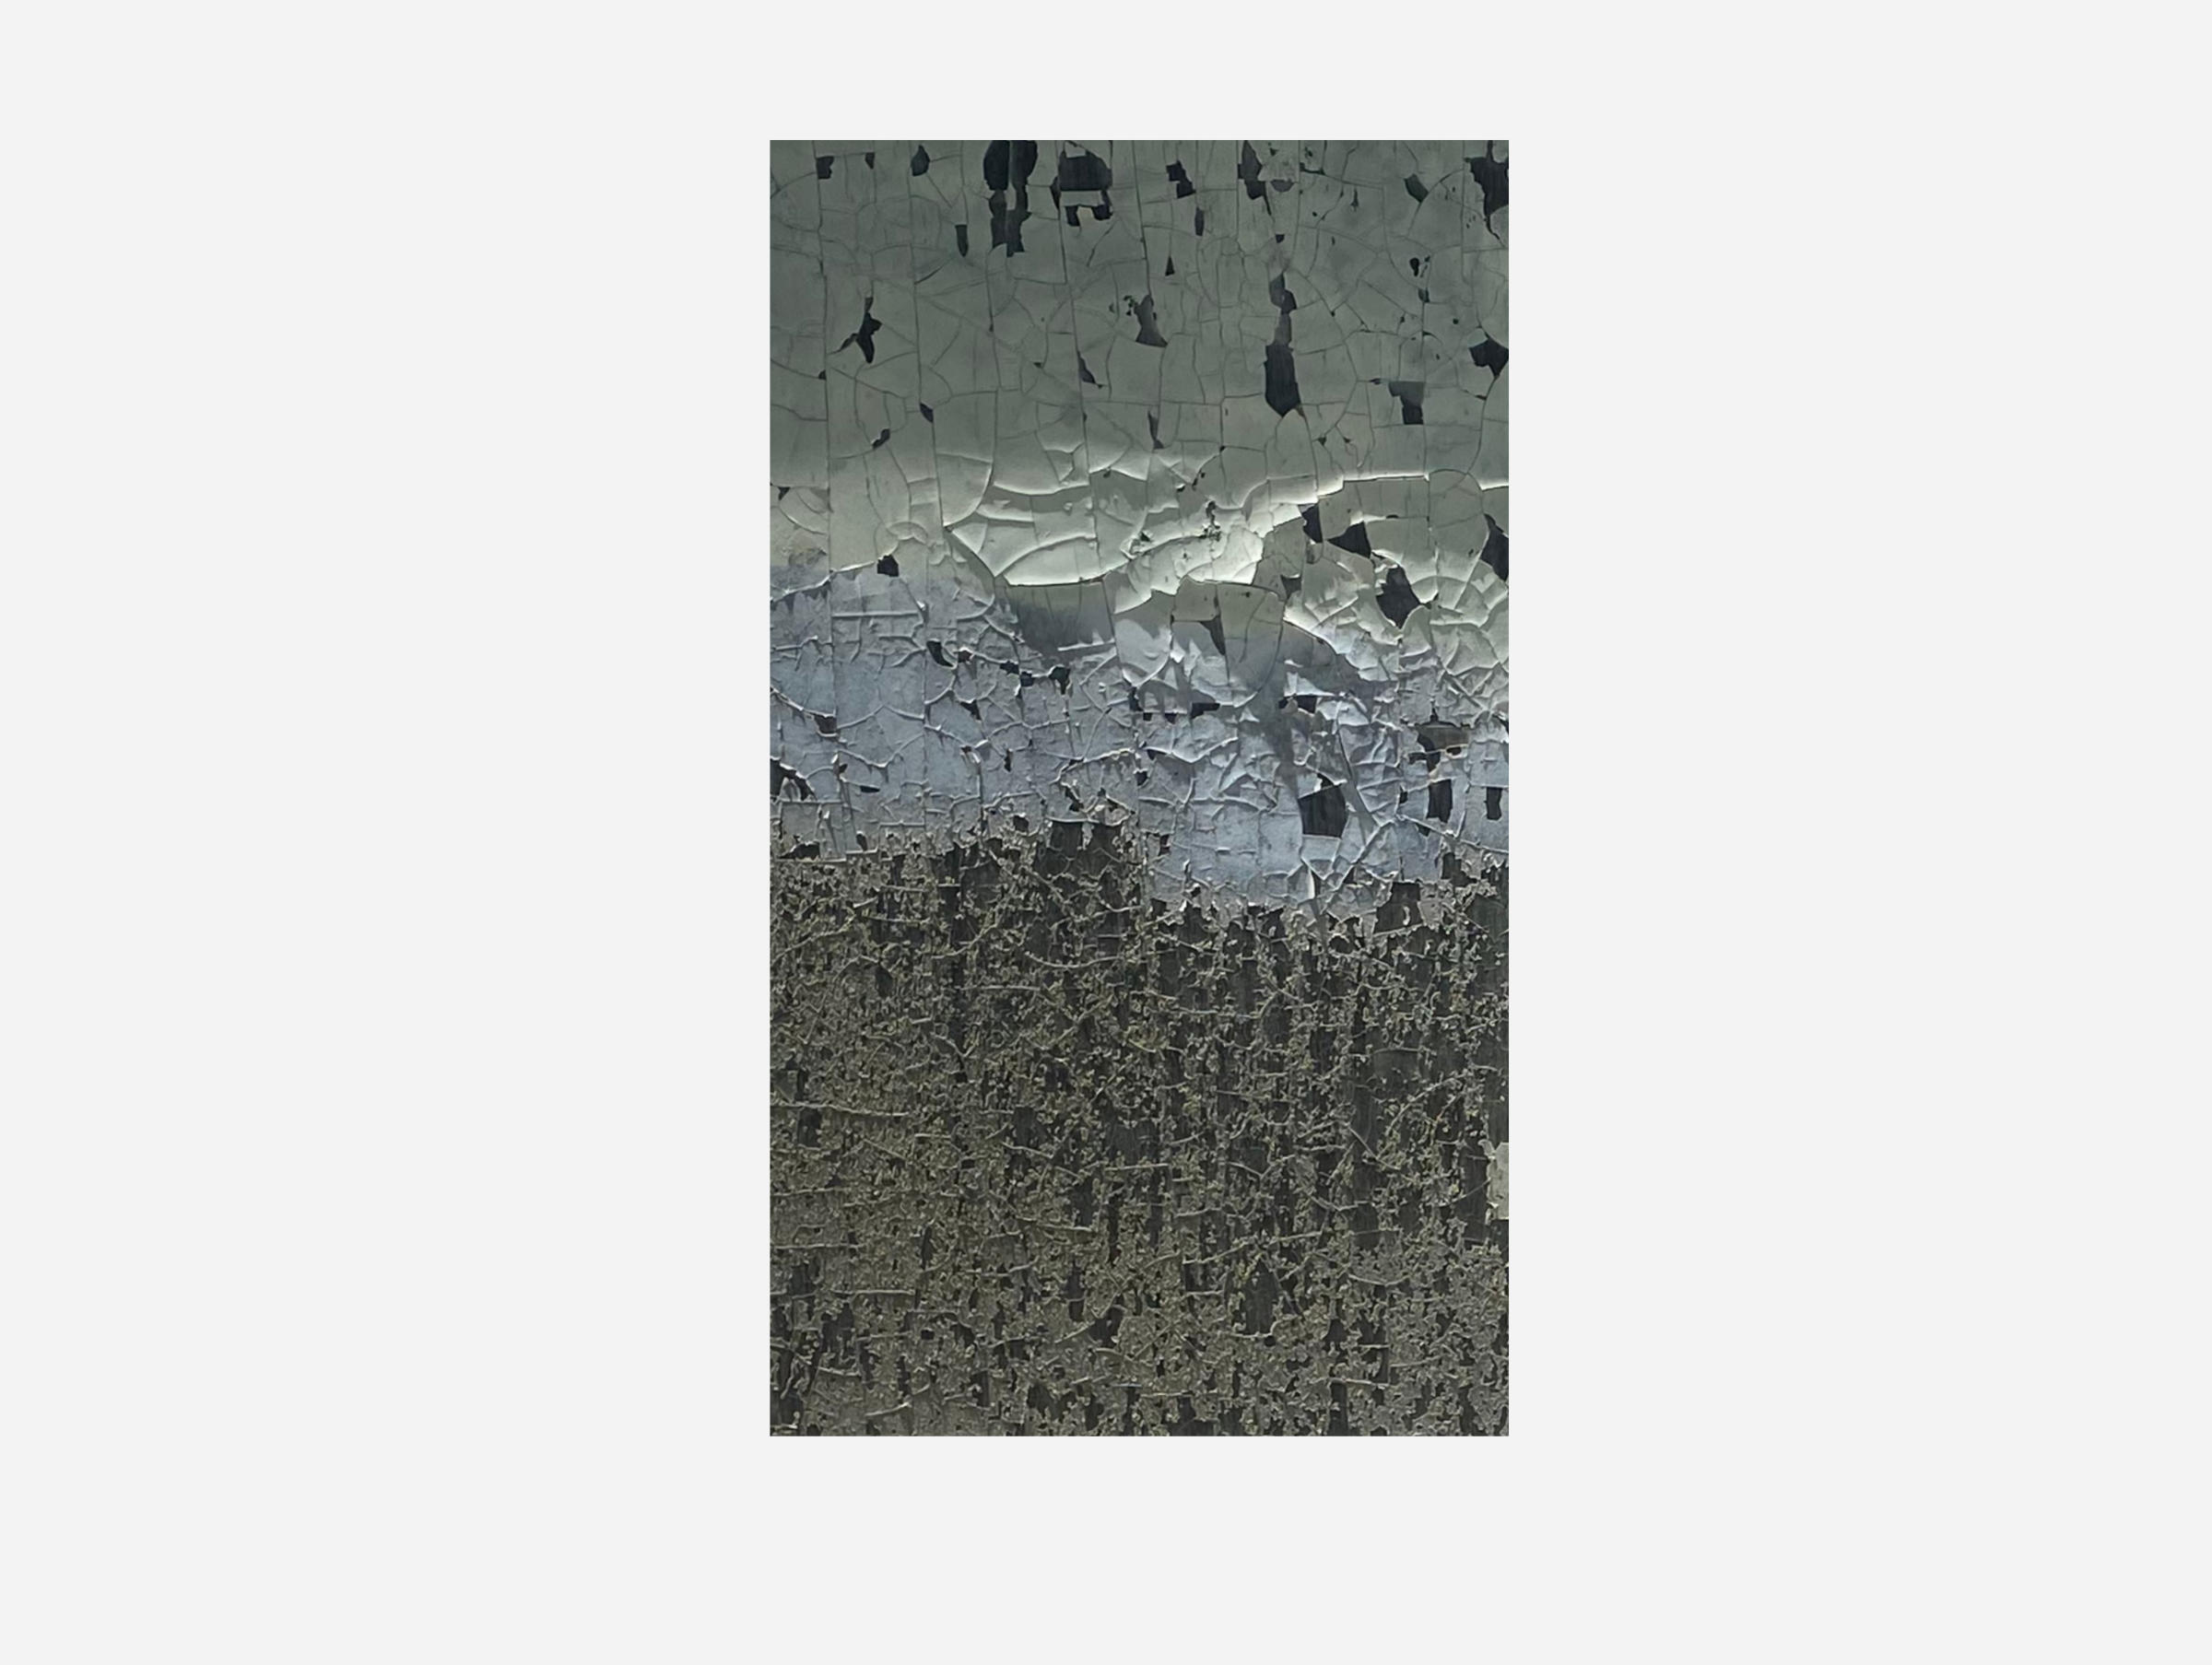
You might be on a walk – and find some interesting textures.
…
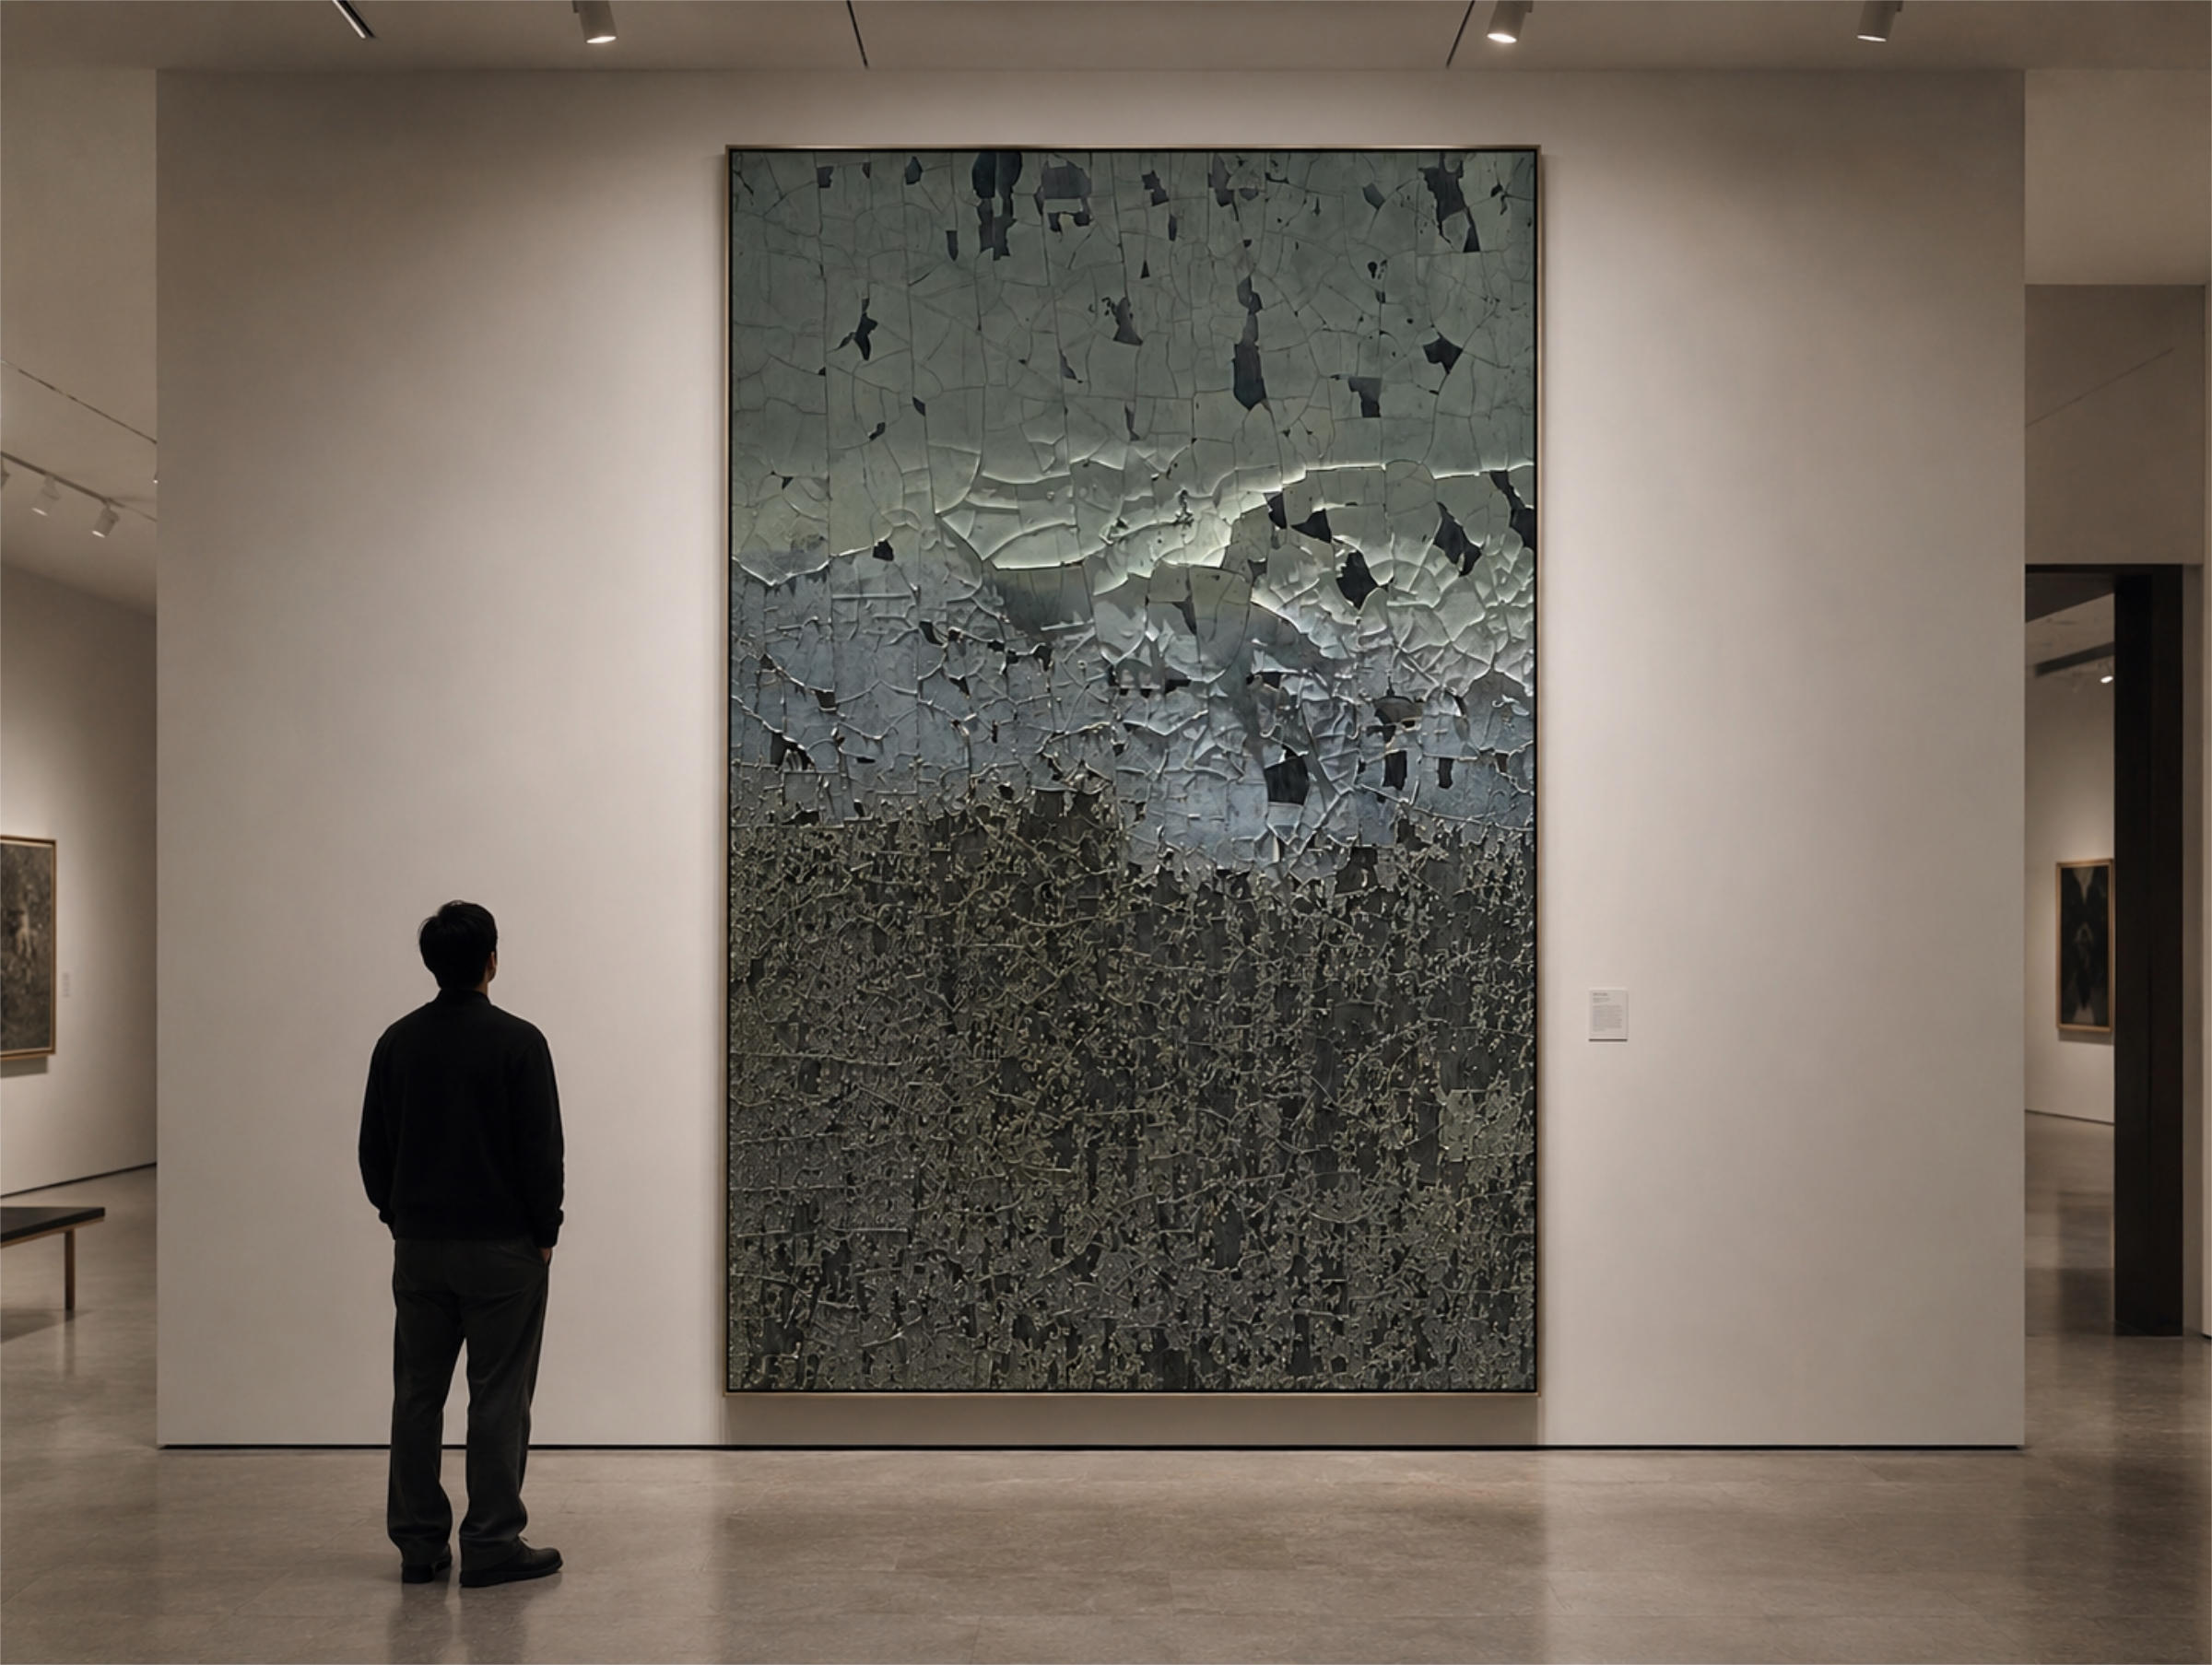
Now you can take it seriously, right? Even old paint can be wonderful if you know how to see it. Blow it up, shrink it down — in the end, it’s all about contrast.
All photographs are crops, right?
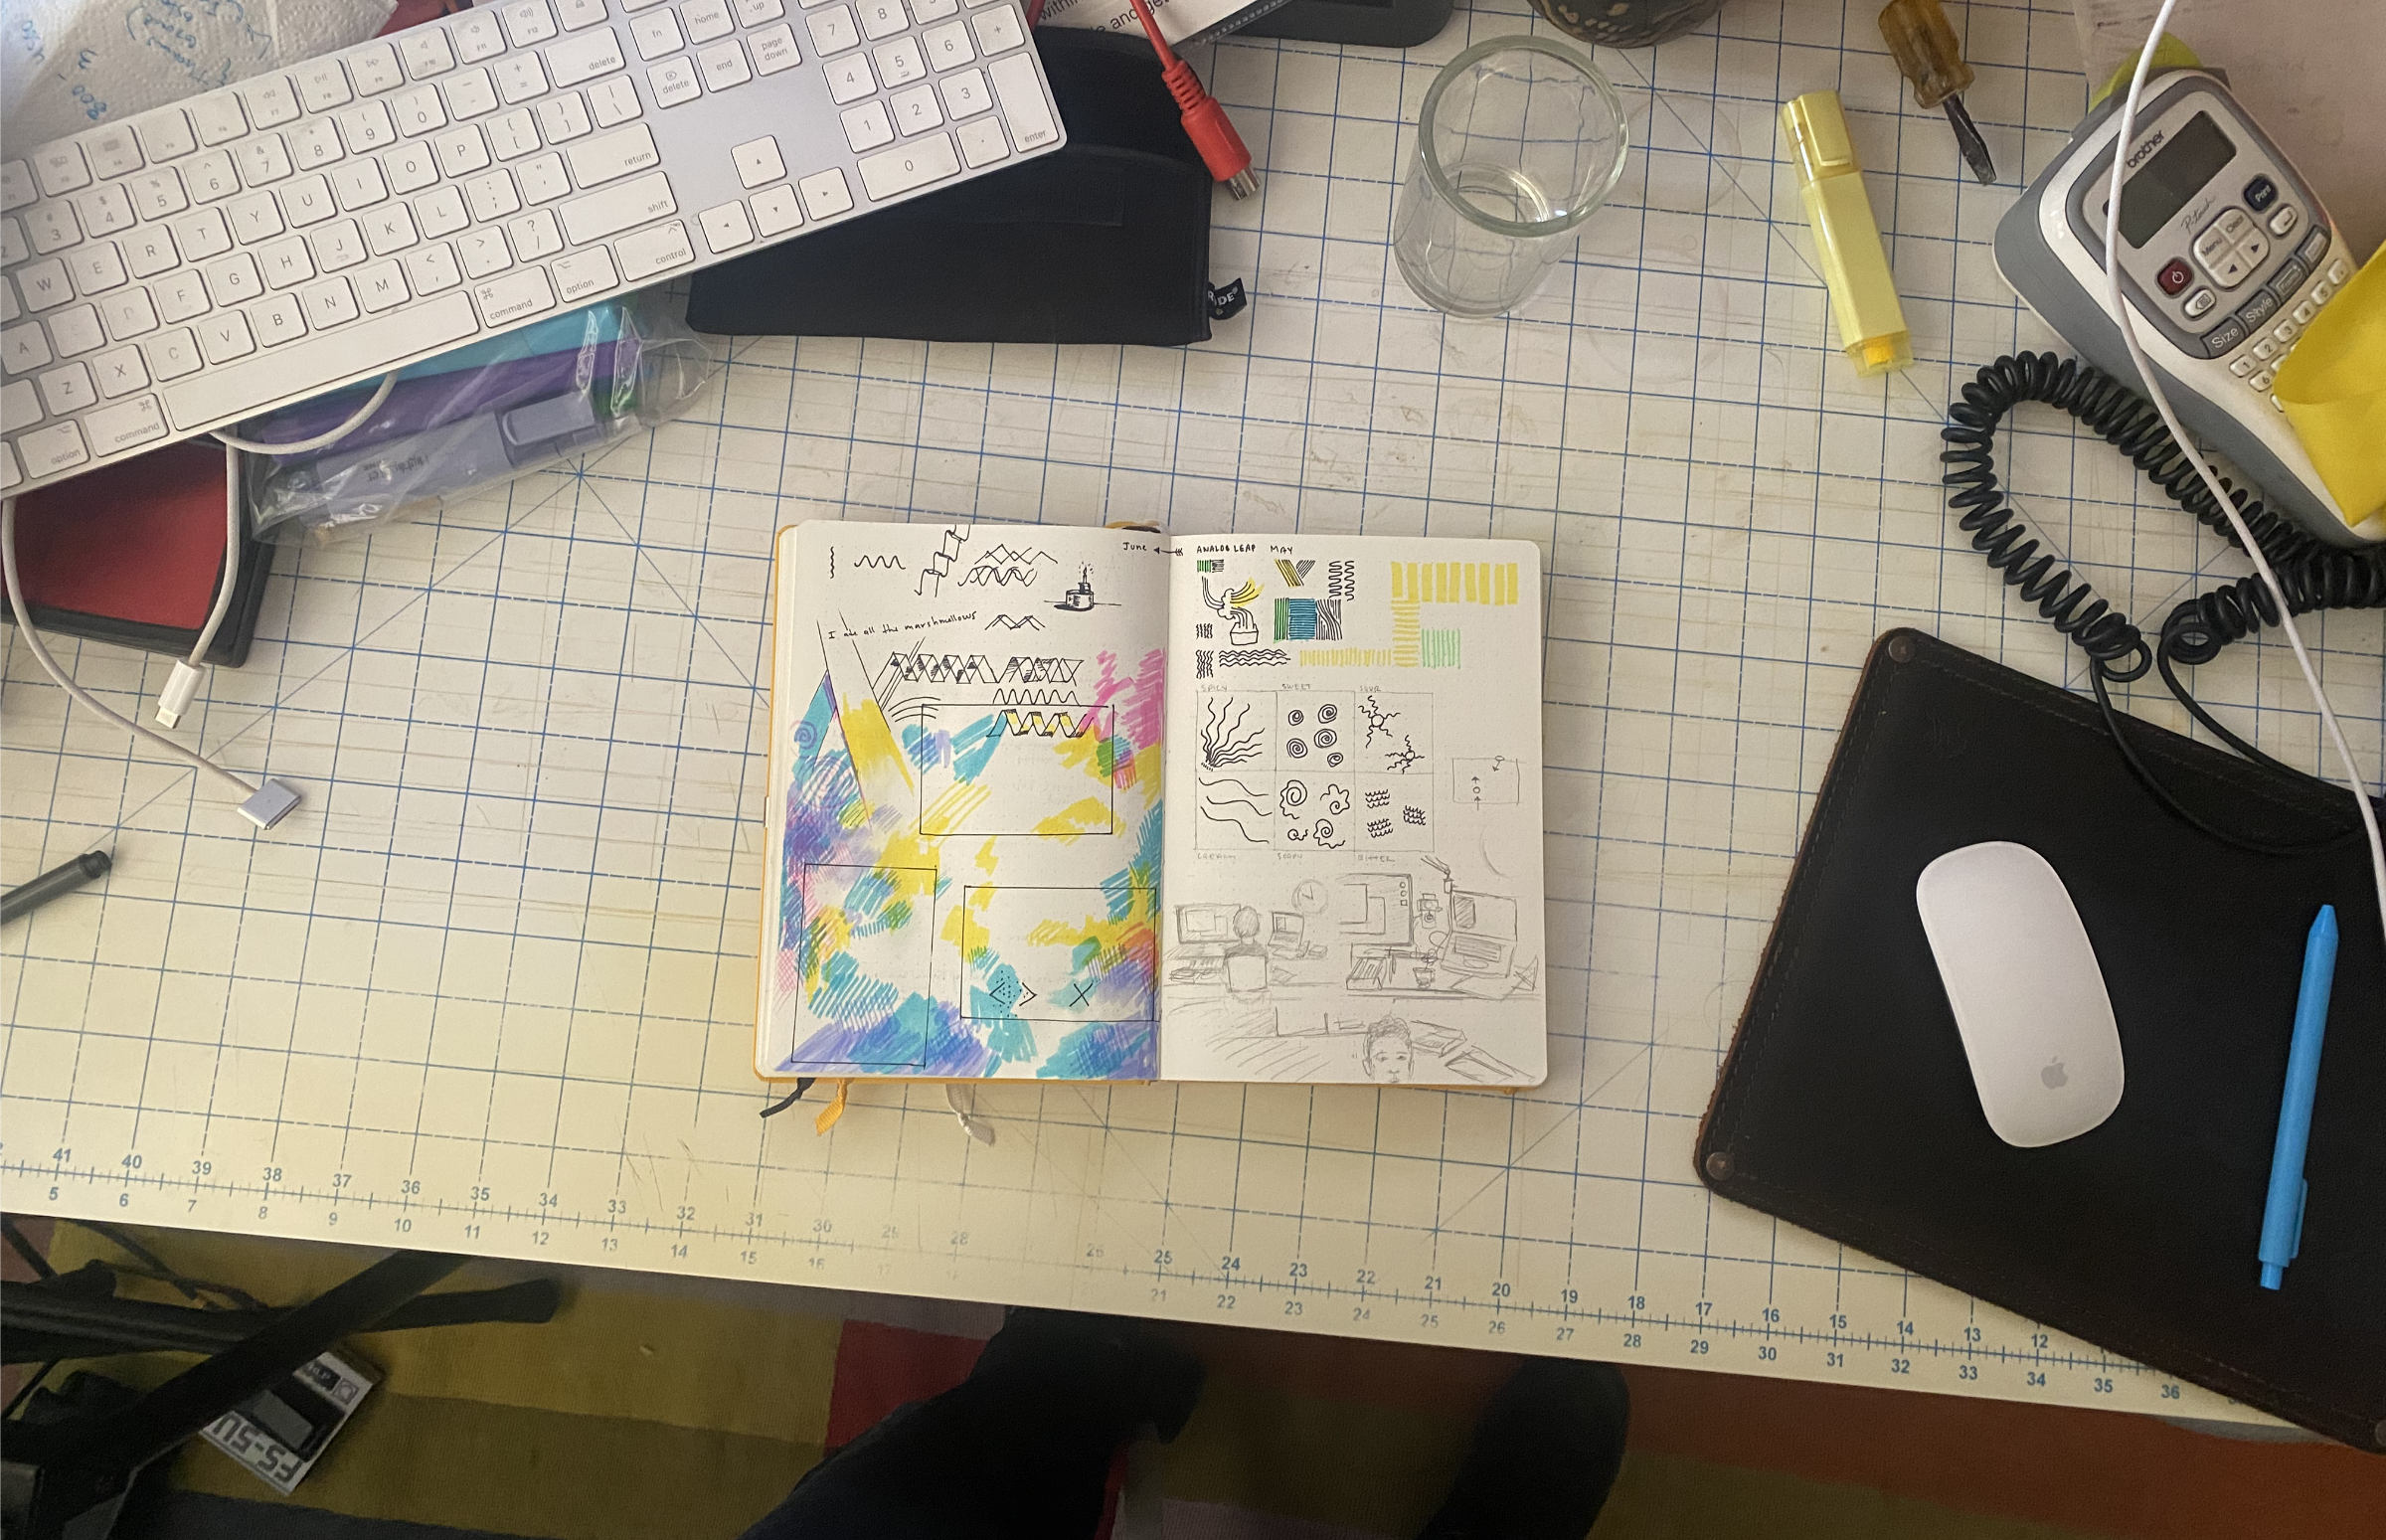
Our eyes (as mysterious as they are) – seem to always have some type of crop.

And everything is made up of shapes, so you can find them in photos or in your field of vision or imagination.

Little doodles can be used for bigger things later.
Here are some loose drawings I did as part of The Sensemakers Club: Analog Leap workshops.

You can tile anything – and sometimes that little square that didn’t seem very special at all – can look really neat and unexpectedly work.

You could make real tiles.
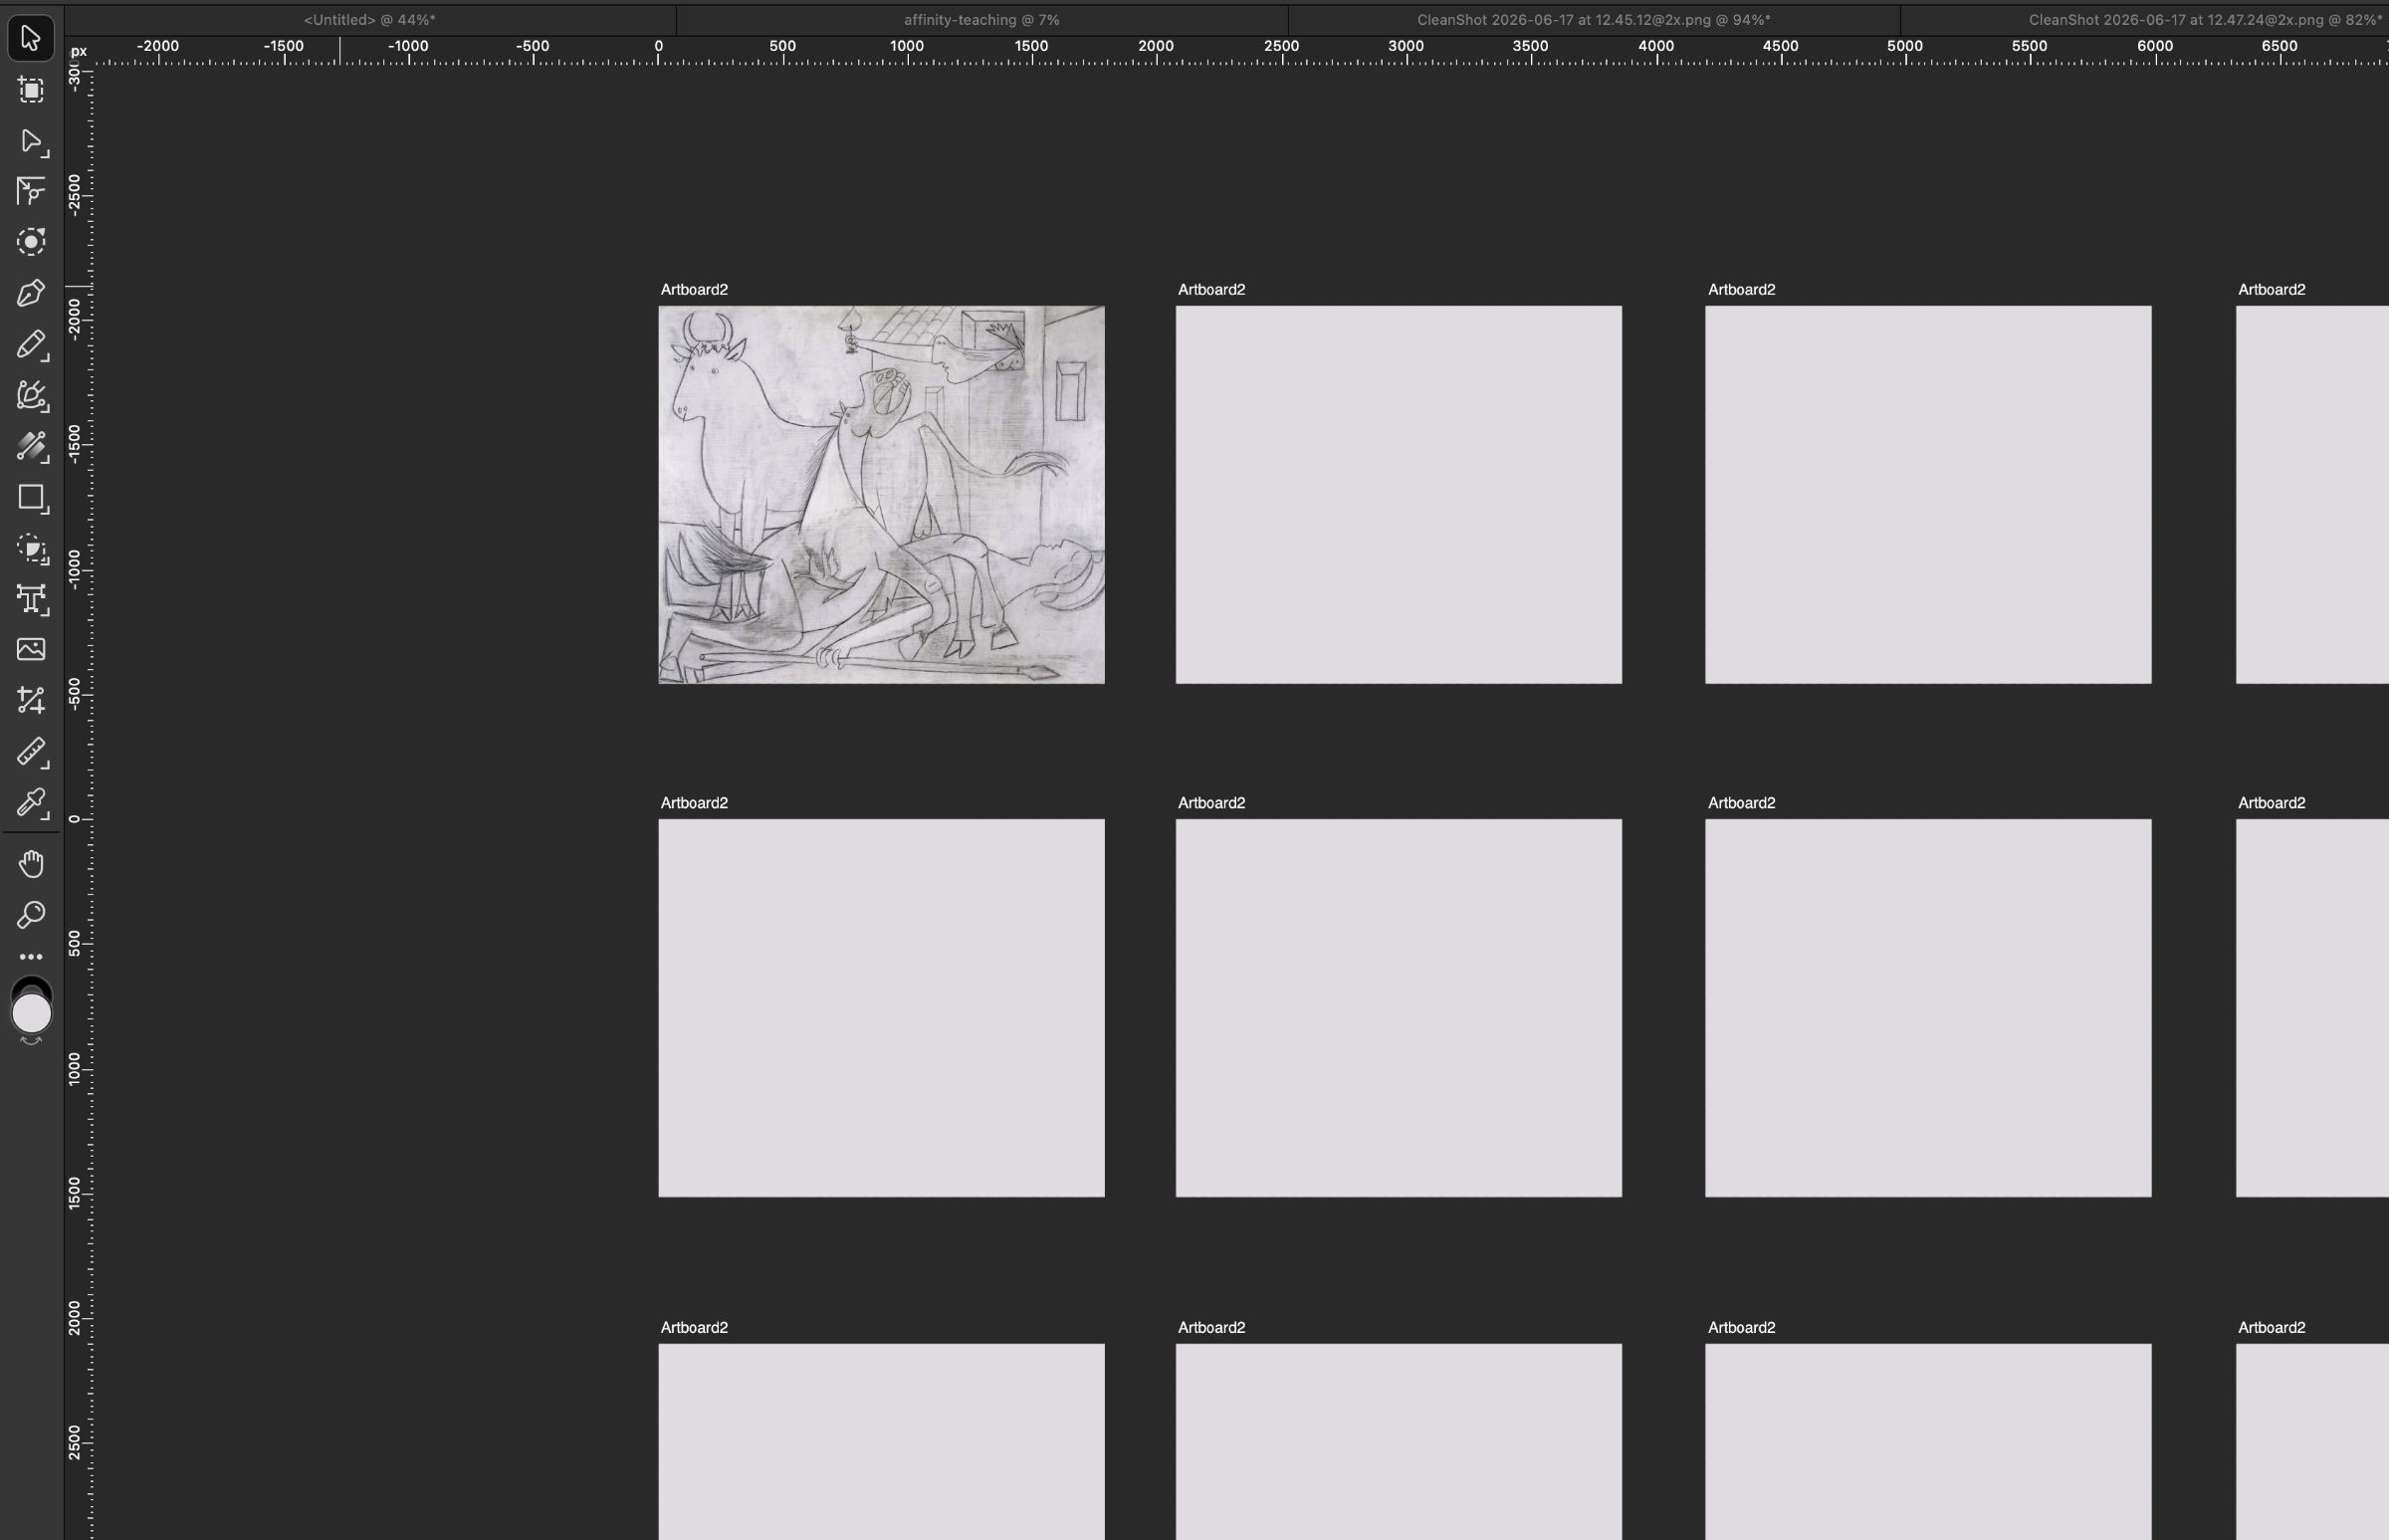
We couldn’t find them all, but we heard that Picasso had done 60+ little studies before starting on the final Guernica painting. This is a common practice. “The final thing” isn’t usually what you need to be thinking about. You have to go through the exploration to get there.
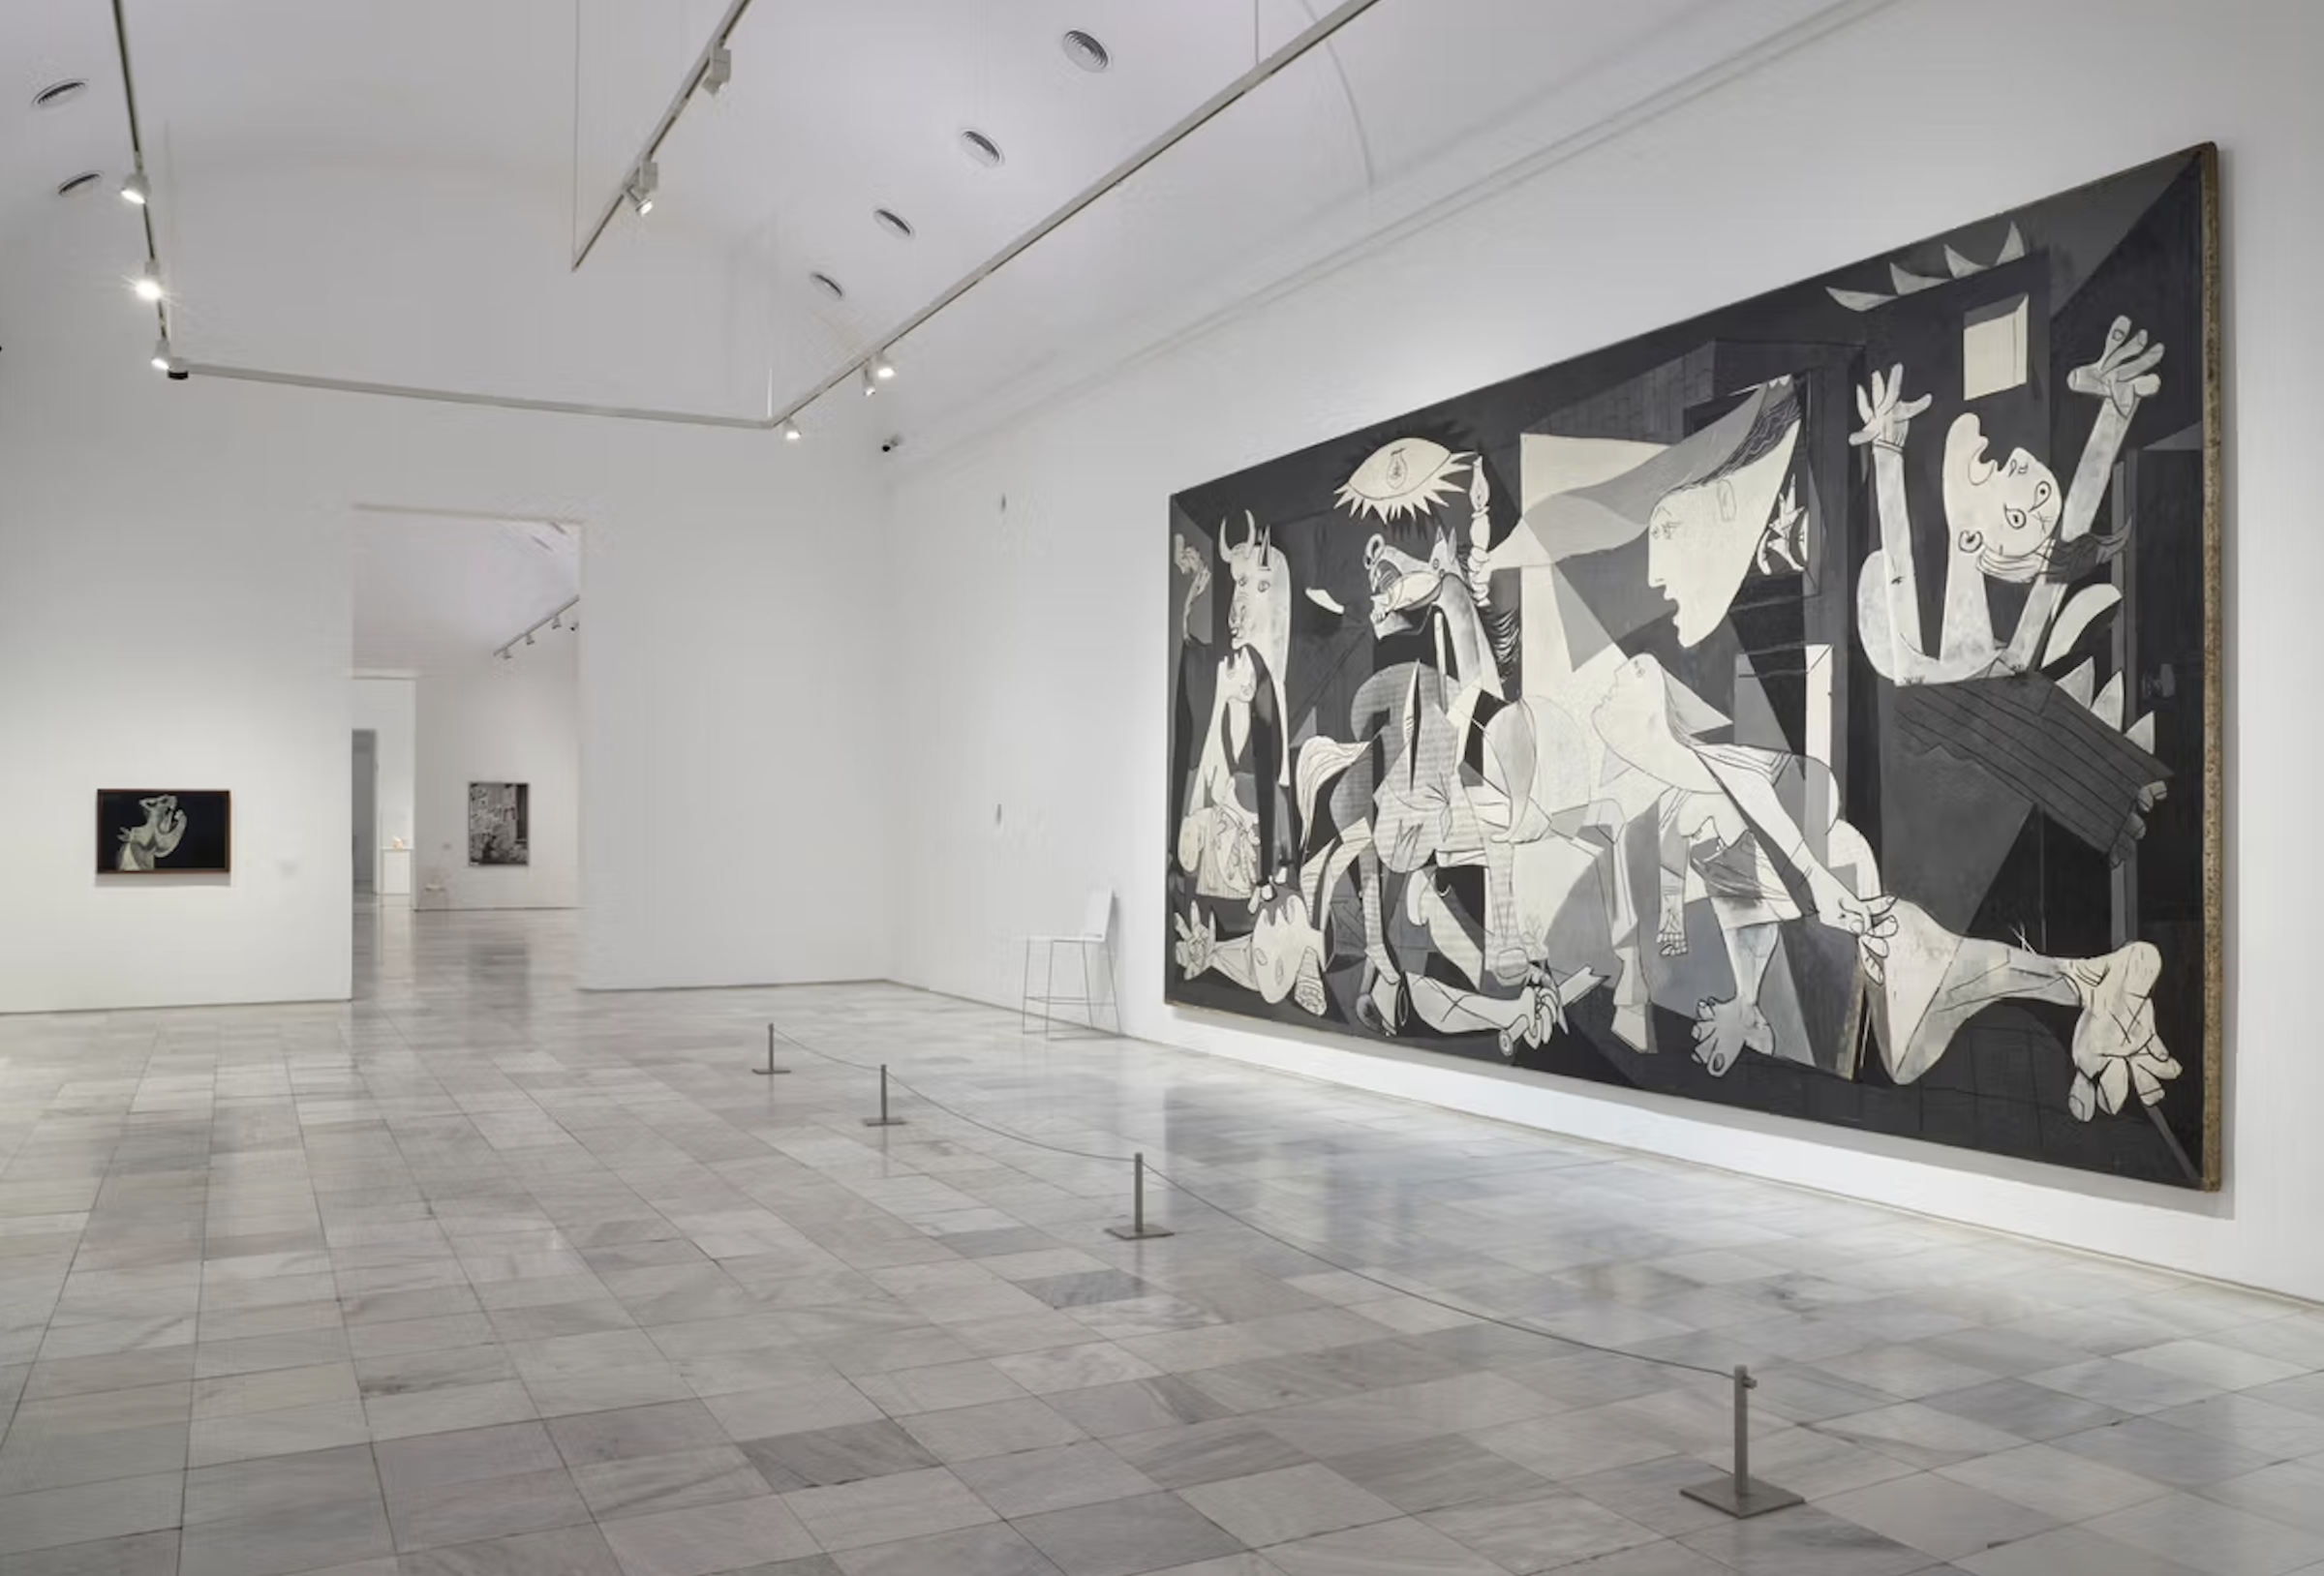
Museo Nacional Centro de Arte Reina Sofía © Sucesión Pablo Picasso. VEGAP. 2023
Pablo Picasso’s Guernica (1937).
Do the studies. Be like Pablo.
Before you go...
Pick your 10 favorites and your 10 least favorites from everything you made. Don’t overthink it – just go with your gut. Share them with someone (a friend, a classmate, a coworker, anyone who’ll look) and try to talk about why you “like” some, and don’t like others.
Make a video about it, write a blog post — just spend some time looking over what you have (and you probably have hundreds of little studies now). If you share them with us, we’ll give you your next round of prompts. info@perpetual.education